The Background
A duplex in a premier residential complex.
- Refurbishing / rectification jobs and re-painting done recently to repair damp walls / seepage problem.
- Source of Damp / Seepage not identified.
- Problem resurfaces
This is where Team – MACJ – A Buyers Choice Home Inspections, came into picture.
The main concerned area was the Dining Hall.
It was badly affected. There were:
a) Paint discolouration on right wall lower portion around switch socket board.
b) Paint discolouration on right wall lower portion at mid span.
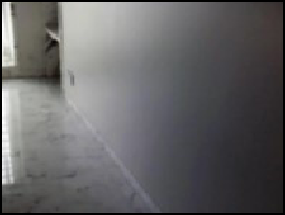 Observation 1 : Visual image of right wall around socket
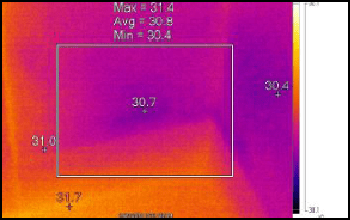
 Observation 1 : IR image showing moisture presence
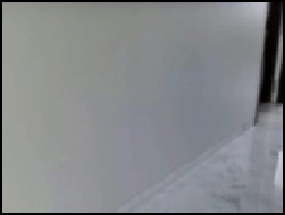 Observation 2 : Visual image of right wall at mid span
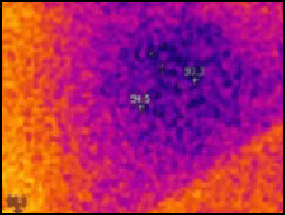 Observation 2 : IR image showing moisture presence
Adjacent Kitchen Wall
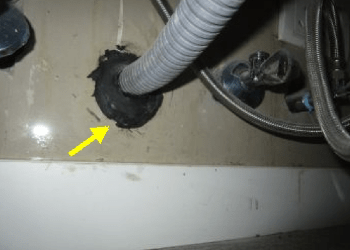
- The client informed our Team that there had been some past history of leakage around floor drain outlet and rectification works have been done for it. No active leakage was noted.
- Minor leak noted around junction of sink flexible drain pipe with outlet pipe on wall.
- Dripping water noted on wall surface under counter stone.
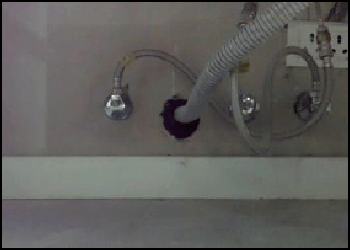
Observation 2 : Visual image of sink flexible pipe junction on wall
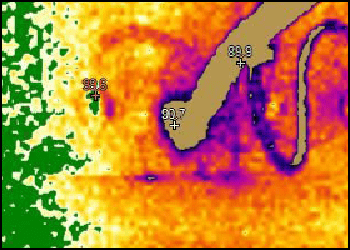
IR image showing moisture spreading from around outlet position

Observation 3 : Water dripping stains from counter and wall tile junction
Our Team thoroughly inspected and found that there were multiple sources from the adjacent Kitchen Wall side.
As analysed by IR camera, moisture presence noted in the affected area due to intrusions from:
- Leak at junction of sink flexible drain pipe with outlet pipe on wall.
- From joints between wall tiles and counter stone.
- Also gap noted around sink tap.
Multiple sources identified
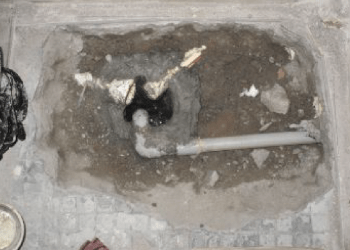
Floor drain outlet condition
Leakage from sink flexible pipe at outlet joint
Deteriorated sealant at counter stone and wall tile junction
IR images confirmed water running along the surface of the wall which was spreading around the junction, thereby affecting the adjacent right wall of Dining area.
However, there was another source, which was more challenging.
Kitchen Balcony
We observed popping of paint on left wall and back wall lower portion above skirting. As confirmed by IR camera, the area was affected due to leakage from elbow joints of AC drain pipe running concealed along the affected area and spreading to the dining area wall.
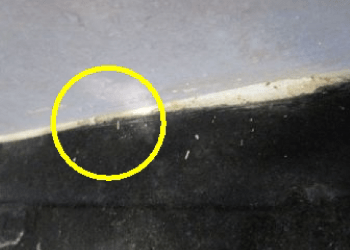
Visual image of left wall lower portion
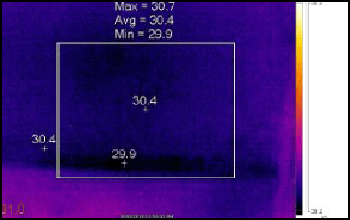
IR image showing moisture presence
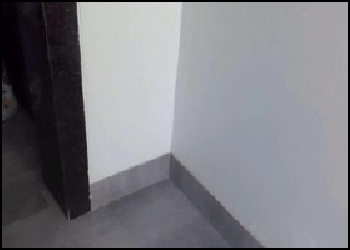
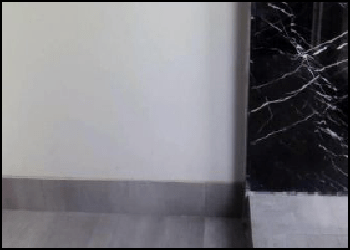
Visual image of back wall corner with left wall
IR image showing moisture presence at lower portion
| Area of Work | Purpose | Repair / Renovation Work |
| Kitchen | To stop Leak at junction of sink flexible drain pipe with outlet pipe on wall. |
|
| Kitchen | Rectification at joints between wall tiles and counter stone and at Gap around sink tap. |
|
| Kitchen Balcony | To rectify AC drain pipe |
|
This case study establishes that localised / surface rectifications are not enough to solve a damp / seepage problem. It is important to find the source of the problem. It requires state of the art tools and expert knowledge (of Professional Home Inspectors) to accurately identify the issue and the source of damp/ leakage/ seepage. Experts are needed not only for identification purposes but also to provide the best pocket friendly solutions for the issues. Trust our experts to give you a long term solutions to your problems.
If only our client engaged us in the first place, then he / she would not have to shell down big amounts.
MACJ – A Buyer’s Choice Homes Inspections Motto:
LLL – Long term solution – Low cost of Repair – Least destruction
Also read our related Blog: https://macj-abuyerschoice.com/real-estate/are-you-renovating-or-remodelling-your-home-or-giving-it-a-makeover-home-inspection-before-renovation-heres-some-food-for-thought/