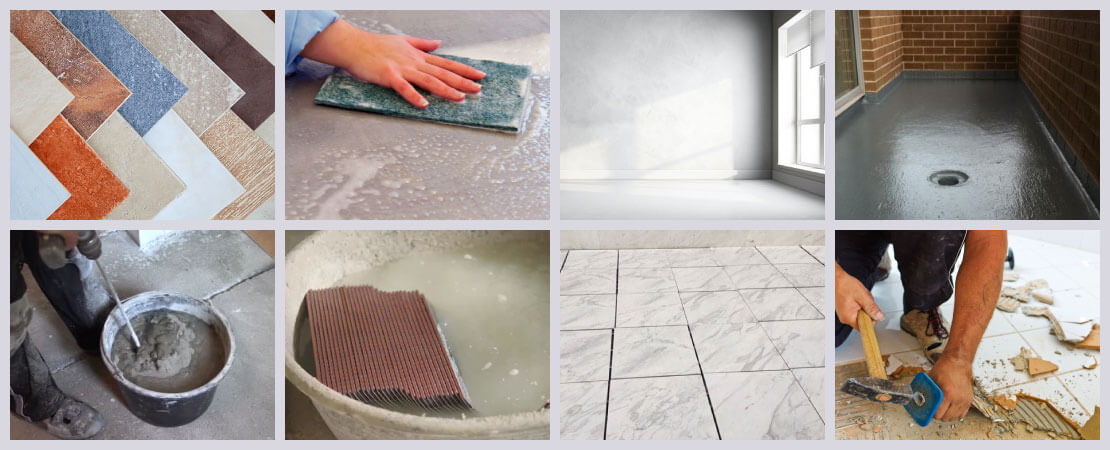
Tiles are one of the most popular flooring options used these days. A tile is a thin object usually square or rectangular in shape. Tile is a manufactured piece of hard-wearing material such as ceramic, vitrified, stone, clay etc., generally used for covering roofs, floors & walls.
In addition to the main purpose of strength and durability, tiles also give home a good look. It is easy to maintain & clean, they come in a wide variety of colours & designs that easily intermix with the décor of your house.
Whether you are doing the installation of tiles for the first time or have done it before, installing tiles in your house is a job that needs to be done properly. Tile installation mistakes are hard to cover up and fixing them usually means to rework on it adding extra cost of replacement or repair apart from potential damage to the property.
So, we thought to tell you about the safety check to be kept in mind before, during and after tile work whether in your Home, Office or Shop or any other property.

A. Checks to consider before you start the tile work
- The first step is to select the type of tile1 to be used in your home. Also choosing the laying type – paper or spacer joint.
- Prepare the surface in such a way that it must be levelled, sound, clean, dry and free from grease or any other material. Also make sure for adequate slopes towards the drain outlets/ points in areas like kitchen, bathroom, toilet,terrace, roof, etc.
- Brick masonry and plasterwork of all the room are complete.
- It is important to make sure all the waterproofing work for wet areas is complete.
- Check that the plaster is cut above the slab level for skirting.
- Prepare mortar mix that can be used within 2hrs.
- Different door material have different thicknesses. Make sure there is enough door clearance kept between the flooring and door bottom or-else the doors will rub against new flooring.
- Mark the position of taps, bottle traps etc. in toilet before starting the installation tiles on walls.
- The tiles should be soaked in water atleast for 2 hours before the tile installation.
- It is better to do a dry layout of tiles, so that you can plan the position of any cut tiles at less noticeable place depending on the requirement.
- Additionally, if you are renewing flooring, make sure that the previous flooring material is completely removed with no residue left behind. This process should be done carefully without causing any damage to waterproofing and other associated parts.

B. Things to consider during tile work
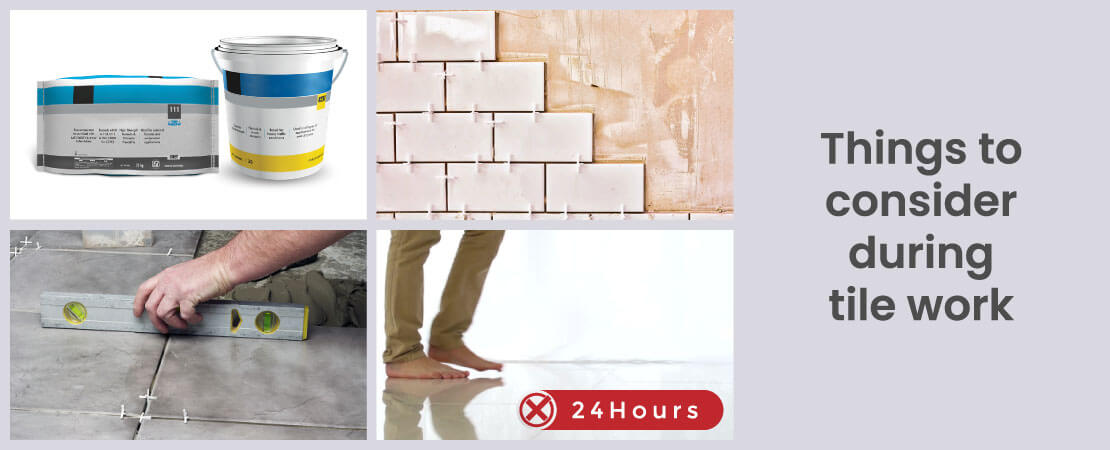
- If you are using chemicals/ adhesive for tile installation then strictly follow tile manufacturer’s instructions.
- Use tile spacers in spacer joint to keep tiles at equal distances.
- Slope should be checked at the time of laying also, so that it can be corrected at that time depending on the requirement.
- The mortar bedding should be compacted properly to avoid voids.
- While installing tiles ensure they are well bonded with the substrata to avoid hollowness2.
- Do not step over the flooring for at least 24 hours after laying.
- Tiling work must be cured and fill the joints with grout and clean them properly.

C. Things to be inspected after tile installation
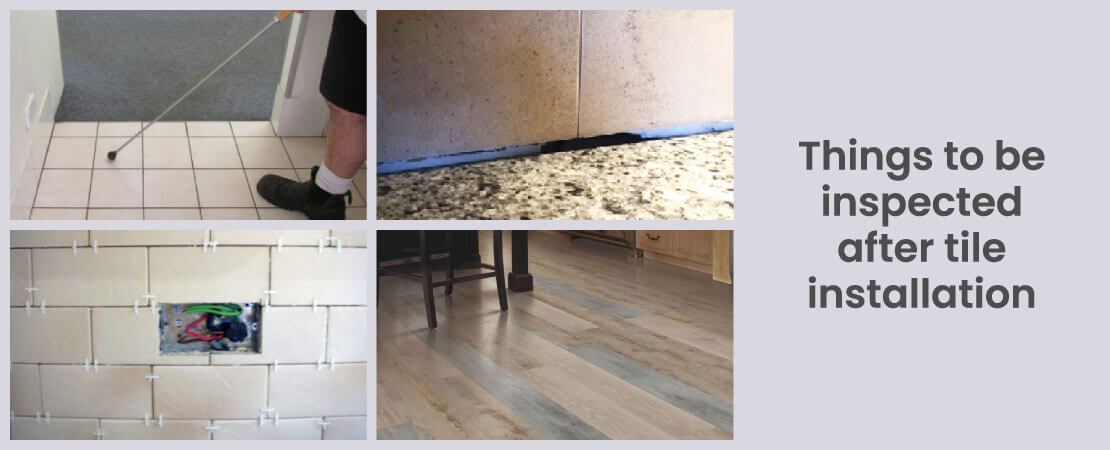
- Hollowness: One of the important factors to be checked (be it vitrified, ceramic, and others) is hollowness checking to ensure tiles are properly laid. It is mainly an installation problem. But it is very important to check it even after tile installation. The tiles need to be randomly tapped using a tile hollow checker for hollowness. You can understand it more by reading significance for checking and its repair.
- Grouting: Tile joints have to be properly filled with suitable grouts/ fillers, without any gaps. Always remember to check that the gaps are filled properly between floor and skirting tile. If gaps are not filled properly, then it will create a path for water to seep-in and create dampness/ seepage in associated areas.
- Cut tiles: Tiles around the plumbing fixtures & electrical face-plates should be cut in proper shapes and the edges should not be visible after fixing of plumbing & electrical fixtures.
- Damages, chip offs and shade variations: Damages & chip offs have to be checked along with any shade or colour variations. Damaged tiles (like cracked or broken tile) should be replaced to avoid further problems like moisture intrusion or deterioration and Chip off. Shade variation will create an aesthetic problem.
Apart from the above mentioned points, slopes also to be checked after tile installation. If any water pockets occurs in wet areas, then the slope of that area needs to be surely checked. There are various problems related to incorrect slope in wet areas like damp or seepage related issue, fungus issue, strength of flooring & wall surface will get decreased, etc. But, it is better advised to check and correct the slope before installation to avoid extra cost and time lag due to repair.
Conclusion
We hope knowing things to consider or look before, during and after tiling work will be helpful to you. This information will avoid several tiling defects like cracks in tiles, shade variation in tiles, etc. With these points, you are sure to have a quality tile installation that will last for years to come. And if you want advice from a professional, then you can contact home inspection services who can inspect each element of your property. With the help of this service, you will get information about issues and long term solutions for all types of issues or problems in your home/ property at any stage.

