Whenever any festive season arrives, we wish to give our home a new look which would provide a happy feeling. Hence, painting your house is surely on the cards. But wait, have you done a survey of the house and made a list of places where dampness has already intruded and left its mark or where you suspect there is seepage? If not, do it. Call for a home inspection service. And if you are already aware of the leakage and/or seepage and damp and still not considering treating them before painting then be prepared to waste a lot of money on those cans of acrylic distemper and emulsions.
It is not until recently that the paint companies have been making you aware of the effects of weather on your house and how choosing the right paint can stop the damage. Do you give as much thought to how your walls are compared to which shade to choose? No. It is time you be a bit more careful and look for any visible sign of dampness or seepage in your walls. Putting paint on a damaged wall will result in making it look beautiful but leaving it at a higher risk of damage.
Contrary to popular belief, paint or putty cannot permanently fix the problem of dampness. To effectively treat dampness, we must first conduct a thorough damp assessment with the help of home inspectors and then decide on the solution. Repairing the leakage definitely is the first step to treating damp.
Preface to house painting: Go to the root of damp and treat it
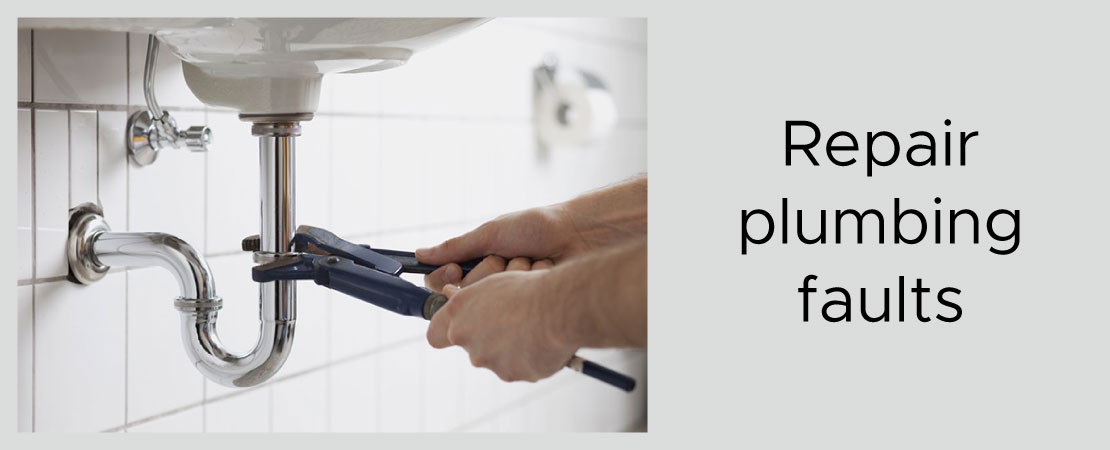
1. Repair plumbing faults
Water pipe leakage often releases water to the walls adjacent to it. For example, leakage from the water pipes in the kitchen or bathrooms can cause dampness on the walls of the apartment below it. To be sure, you must perform a thorough home inspection and check all the fittings and pipelines. Water leakage can occur in the internal as well as in external piping and even in the water tank itself. If you find any such leakage repair it first, without delay.
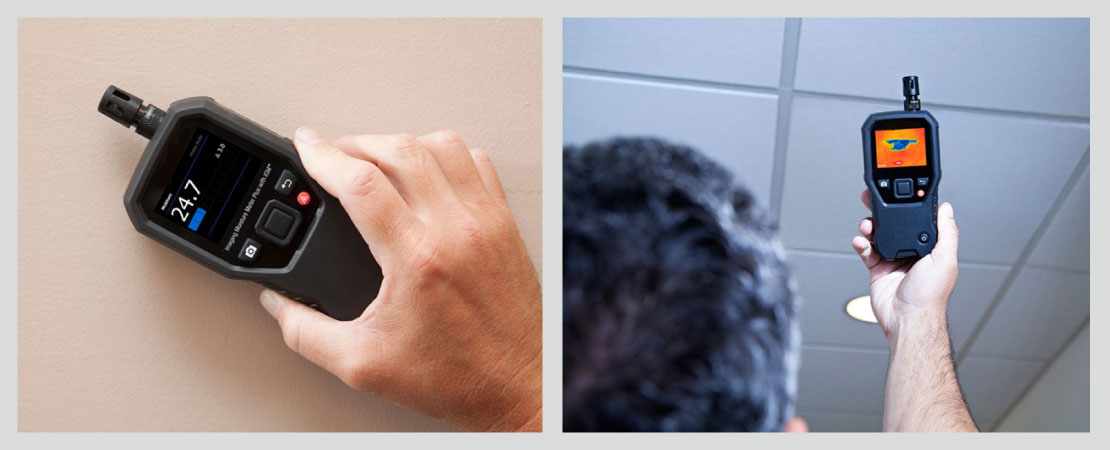
2. Check the indoor moisture content
The climatic condition of a place plays an important role in determining the condition of your house. In India, humidity is constant. Keep a check on the indoor moisture content of your house so that it does not overshoot the normal level. Ventilate your rooms and take other necessary measures to keep your walls and ceilings damp-free.
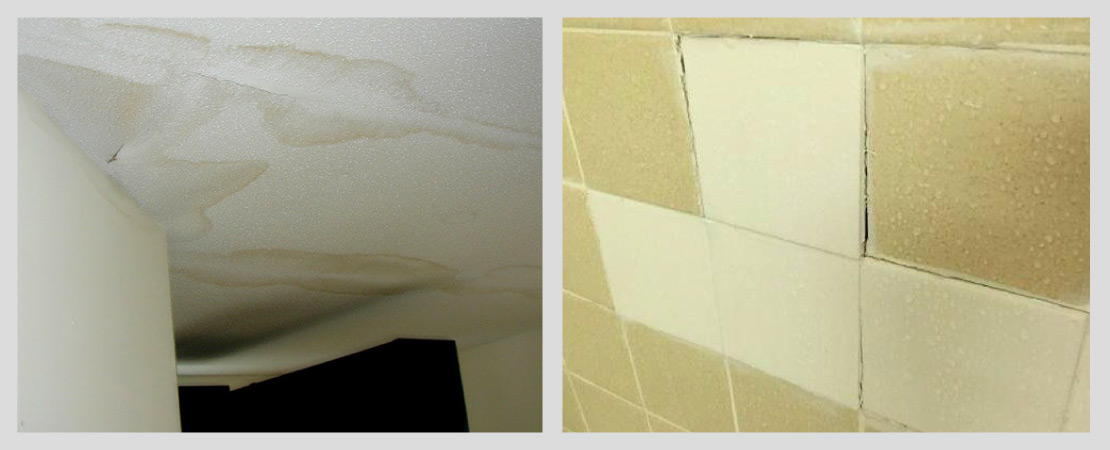
3. Pipe leakage in adjacent flats, damp in your home: Alert thy neighbour!
Be the friendly and courteous neighbour that you are and ask the family sharing floor or walls with your flat to check for leakage in their bathrooms and kitchen. This you do if home inspection finds no apparent problem in your home but you still see clear watery spots on the ceiling or bulging tiles in the walls of your bathroom. Once they fix the problem, damp issues in your home get solved.
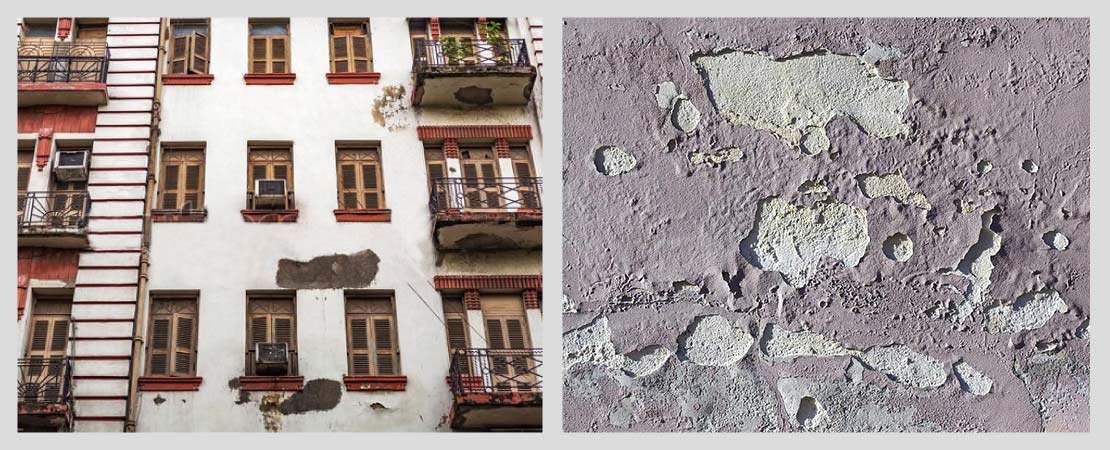
4. Check for the conditions of your building’s exterior
If the outer walls of your building are in good shape then the chances of dampness in your inner walls reduce drastically. Plastering and using a weather-shield paint variety on exterior walls gives them an extra layer of protection against moisture and rainwater. However, if the plastering quality is not up to the mark or the paint is old then it invariably leads to moisture absorption and damp.
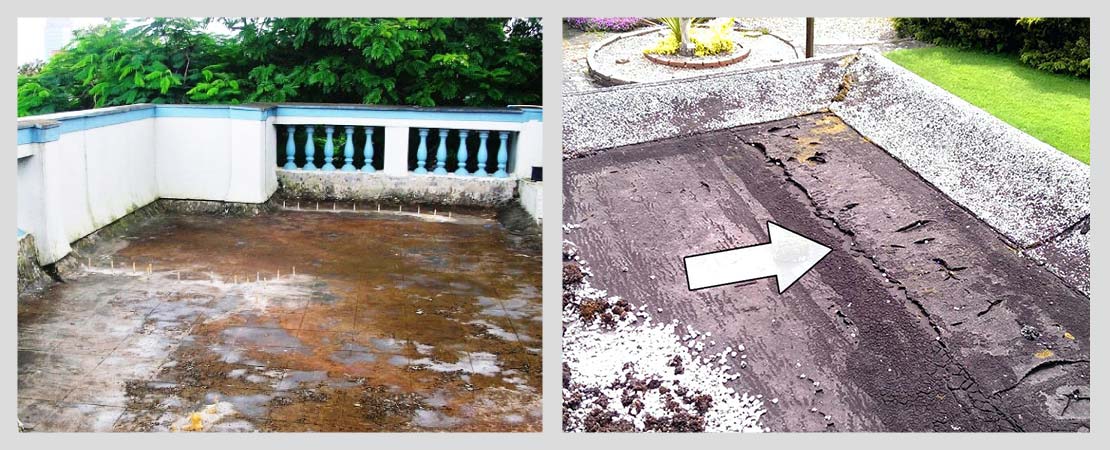
5. Check the roof for leakage
Water-logging in the roof is a cause of concern. Blockage in the vents can cause accumulation of a large quantity of water on the roof after rain. The water may seep through the roof and cause dampness in your ceiling. Other probable causes of a damp ceiling are crack in the roof, damaged waterproofing, etc.
Clear the blocked outlets on the roof, detect cracks if any through a home inspection and repair them, go for remedial waterproofing of the roof, or erect a rooftop shed to stop water accumulation and resultant dampness as per condition.
6. Close other sources of moisture intrusion
You may not know but there could be other sources of moisture intrusion in your home other than the ones pointed out above. Prevent moisture intrusion through these places and then proceed to paint your house.
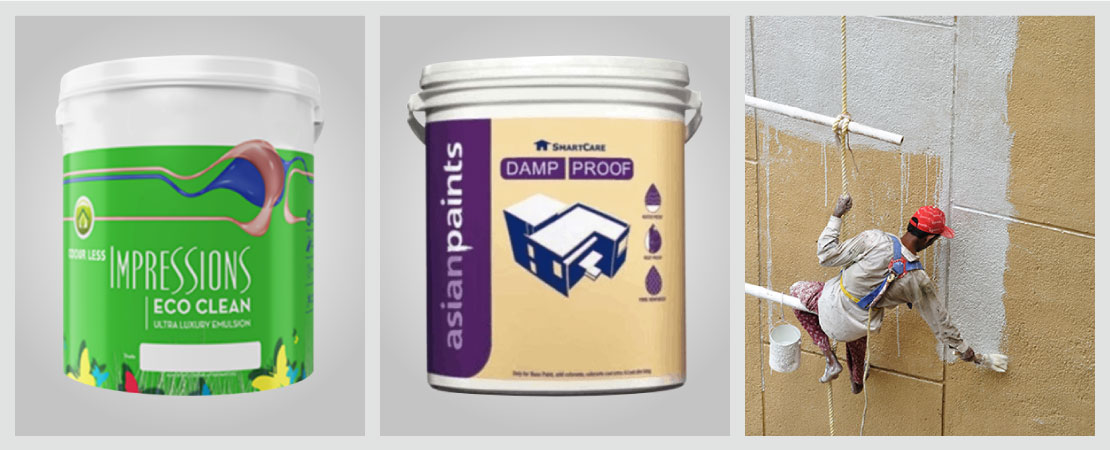
Tips to prevent damp while painting
Use good quality paint
The paint you choose for your house can do more than enhance the beauty of the structure. Advanced paint solutions are enriched with silicon technology and so on. They absorb zero moisture and prevent water seepage through walls. Choose a weather-guard paint variety for the exterior walls and an equally good solution for the interior walls as well for the best results. You may consult a professional painter, who can guide you to choose the ideal paint for your house.
There are certain paints which also have proven antimicrobial properties1. Due to the action of such paint solutions, the growth of fungi and other microbes on the damp wall gets reduced. This is of immense importance as dampness is known to cause a number of ailments such as allergic rhinitis, skin rashes, etc. Consider using these paint varieties for a beautiful and healthier home.
Waterproof your walls
To strengthen the walls of your house from within and treat damp and seepage it is important to subject them to proper waterproofing. Make sure that both the ceilings as well as your walls are all waterproof. Your painting service provider will only do that for you. Just know the requirement well beforehand to calculate your budget. Who to consult with for that? – A home inspection service provider, who else!
Apply paint the right way
As mentioned earlier, only paint or putty cannot solve the problem of dampness. To effectively prevent or slow down dampness, you should apply paint only after applying the primer. First, you must apply some anti-dampness chemicals like Dr.Fixit2 or Asian Paints Care Damp proofing3, on the walls. Always follow manufacturer’s specifications properly.
If the problem persists even after all the remedies mentioned, call home inspectors to help you with a further damp assessment of your home. To learn more about the service, click here.

