A Final Walk-through Checklist for Home Buyers

After a long tug of war among choices, you might have just finally settled on a particular house (or a new flat). What took you so long? Well, you were judging the location, communication facilities, build, age of the house, and of course, pocket pinch. Now that you are just a few inches away from making the full payment, pause for a while and have a final walk-through.

We present you here 9 points for which you should keep your eyes open while you close a real estate property deal. Consider this as the final hurdle which would do away with a lot of troubles that may arise later. Better late than sorry! Check out what we have in store for you:

1. Ensure everything promised is present

This is especially important if you are buying a furnished house or a resale flat. Both the entities, that is, the seller or the agent and you – the buyer, must have had a purchase agreement. It is supposed to have a list of all the items that would come with the purchase in it. Check and recheck that agreement and match with the checklist whether everything you are paying for is present inside the house.
2. Make sure all the Repairings are done

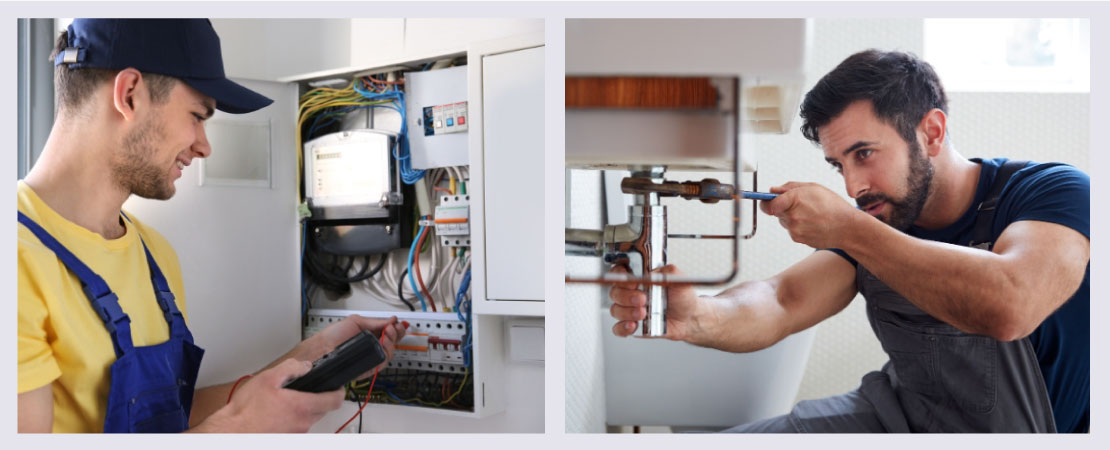
Prior to selling the house, a thorough home inspection would identify a number of areas in need of repair. The seller might tell you assuring words about taking care of all the home repair works yourself. But if you are not on the watch, you have a high chance of finding them incomplete or completely unattended. And if you find them done, make sure you have the invoices or warranty cards1 with you before the dwellers leave so that you can deal with it in case a problem arises later.
3. Inspect Electrical system

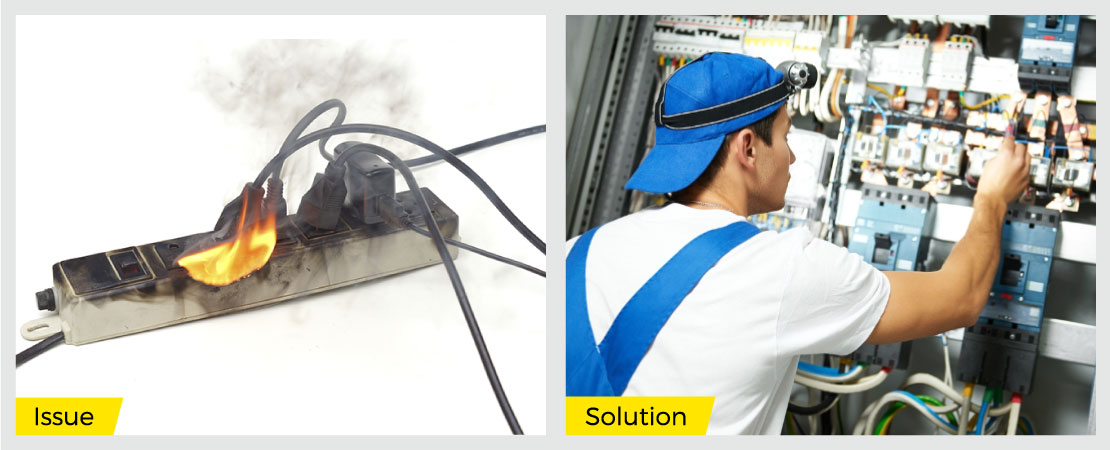
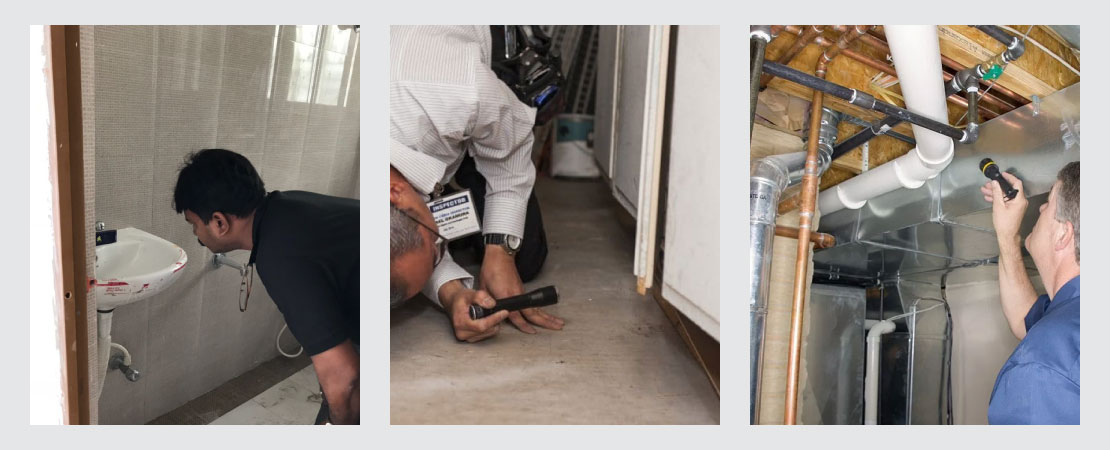
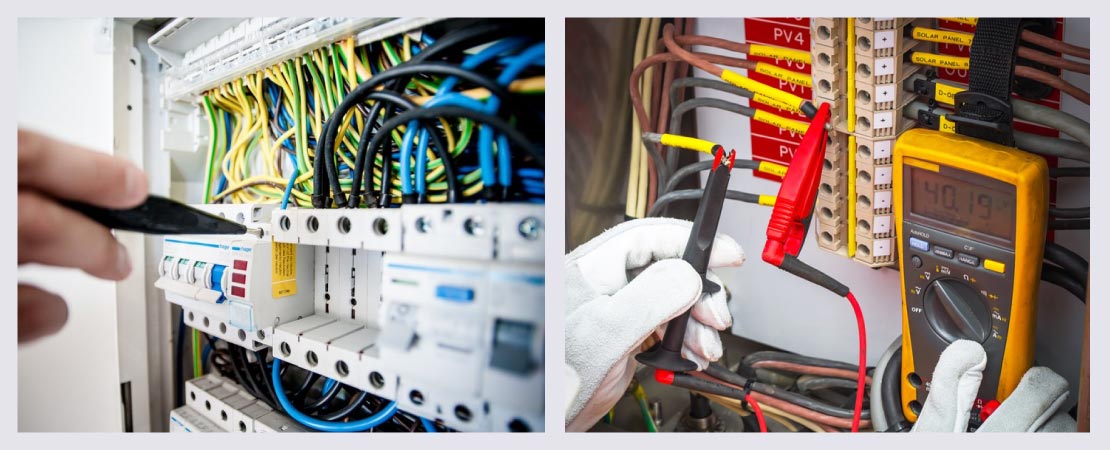
While you perform a final walk-through, this is one crucial thing you need to make sure of. It is always advisable to take the help of professional home inspectors as they check the electrical wiring system. During the elaborate electrical inspection, they not only check the circuit of the flat/ building but also other small accessories like wires, switches, plug points, and doorbell. If any issue is found, they suggest a solution. You must follow these solutions to get a safe home which you can accentuate further with modern electrical fittings and home appliances.
4. Check the Plumbing and fixtures

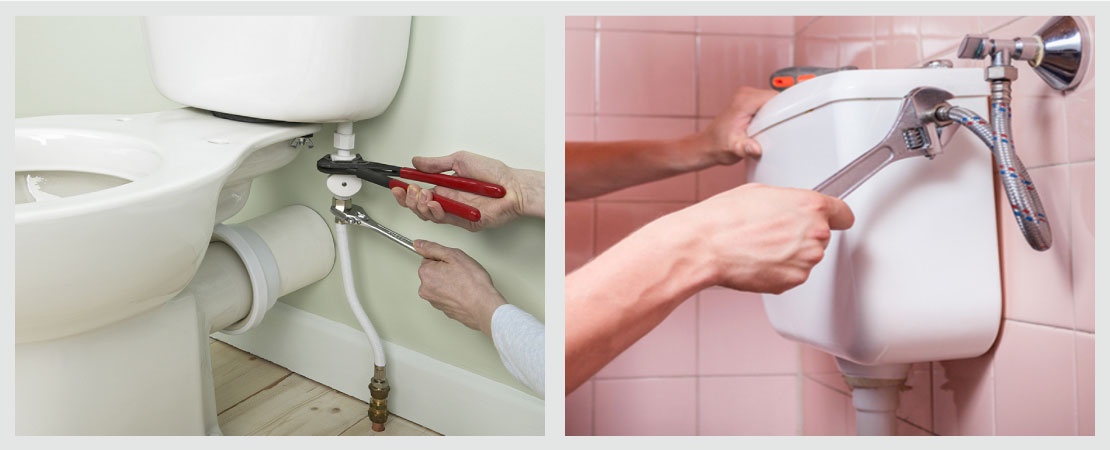
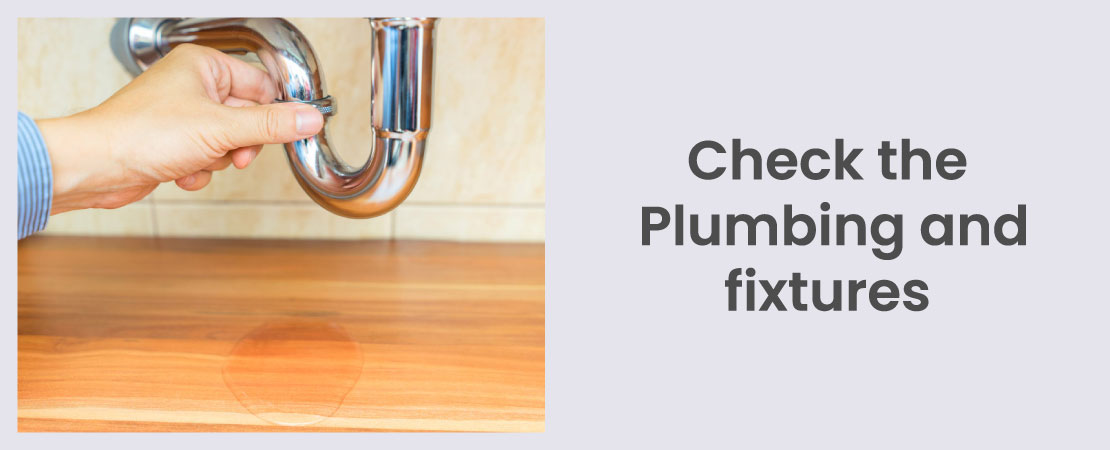
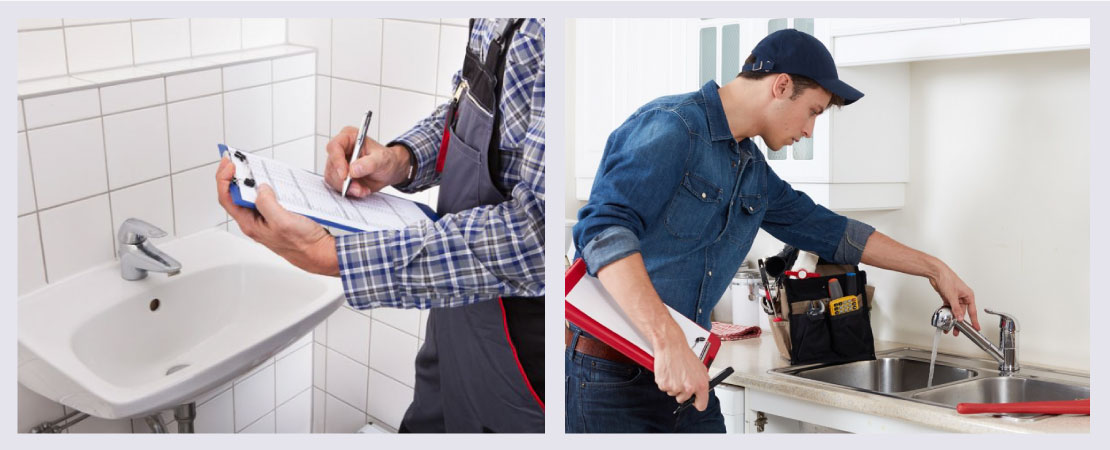
You would not want a running tap, trickling water or non-functional faucet to bother you every now and then, when you move into your new house, would you? For that, you have to check the plumbing and fixtures of the property thoroughly. Make sure showers and taps are functioning properly, the cistern is perfectly functional, toilet flush is working fine and there is no leakage or crack in the pipeline.
5. Look out for Damp spots

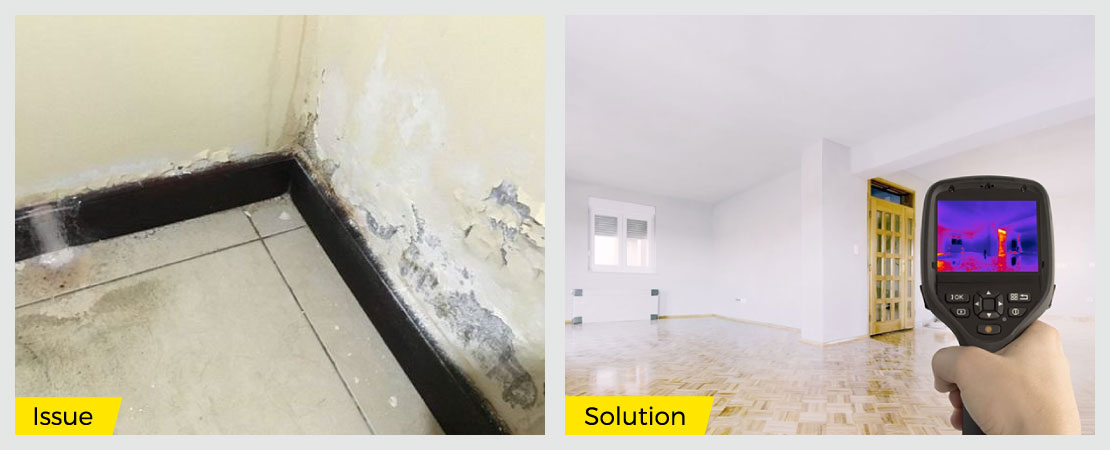
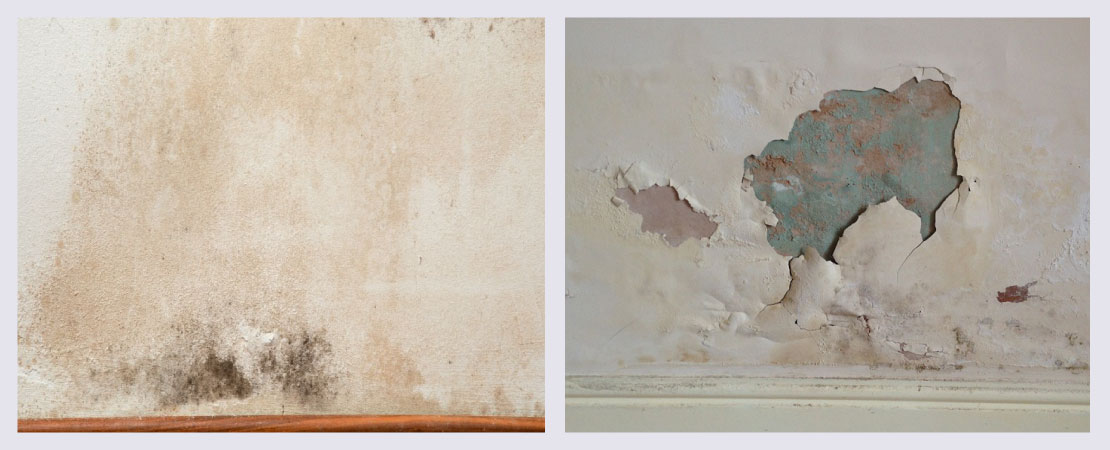
Your home inspection during the final walk-through must include looking out for damp spots on both the inside and outside walls. India’s tropical weather paired with low-quality building materials/ finishing is likely to lower the life of the house. Besides, look behind the cistern in the bathroom, behind each door and big furniture pieces, on the walls/ floor, and of course, the roof/ ceiling for damp. Satisfactory outcome of the inspection will enable you to have a peaceful night’s sleep in the damp-free, airy house.
6. Check for Pests

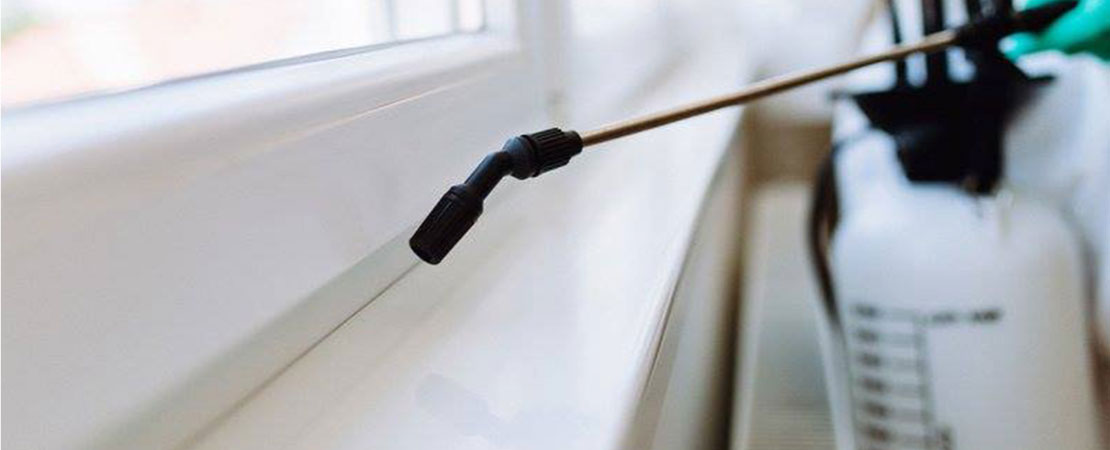
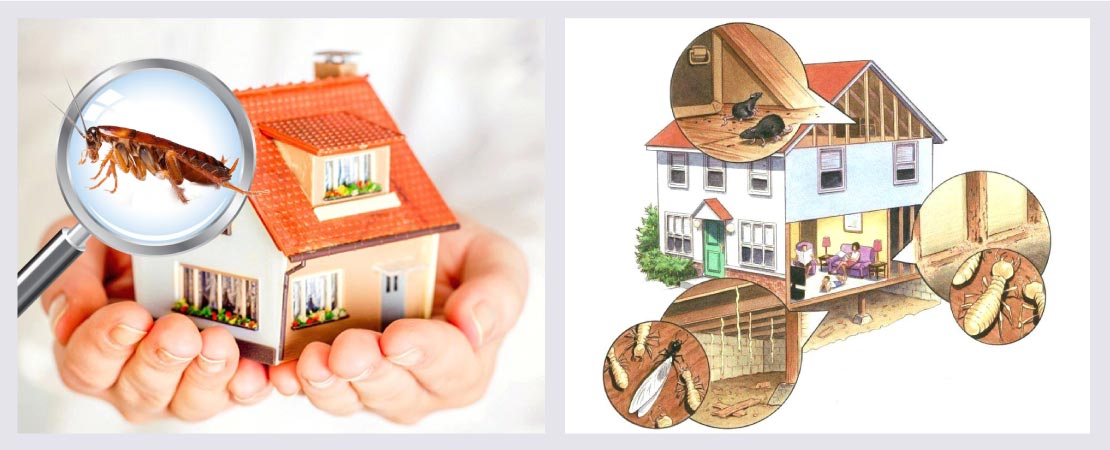
If there is anything equally irritating and disgusting as damp, it is pests. Cockroaches, lizards, ants infest any house whenever people begin dwelling. Termites, small though it might be, can bring a disastrous nightmare for you. Bigger pests like mice or rats will make your life hell. Look out for pests as they leave behind signs of their existence. Ask your agent or sellers to call for pest control and take immediate action before you finally close the deal. Get rid of any rotten wood or likewise items that would invite these unwanted guests.
7. Check the wet areas – Bathrooms and the Kitchen

If you are buying an old property, chances are that the kitchen and bathrooms have long been not in use and kept closed. Leakage/ seepage, damp, standing water – anything can welcome you when you enter. So, while buying an old property, check these two places with extra attention. Bathrooms, especially, turn out to be a real menace in old buildings with cracked basin and leaking taps. In the kitchen, damp spots on the wall where the refrigerator used to be or below the kitchen sink are common. Pay attention to these things during your walk-through. Make home repair your first priority.

Even new properties may have these problems.
8. Security and Safety measures

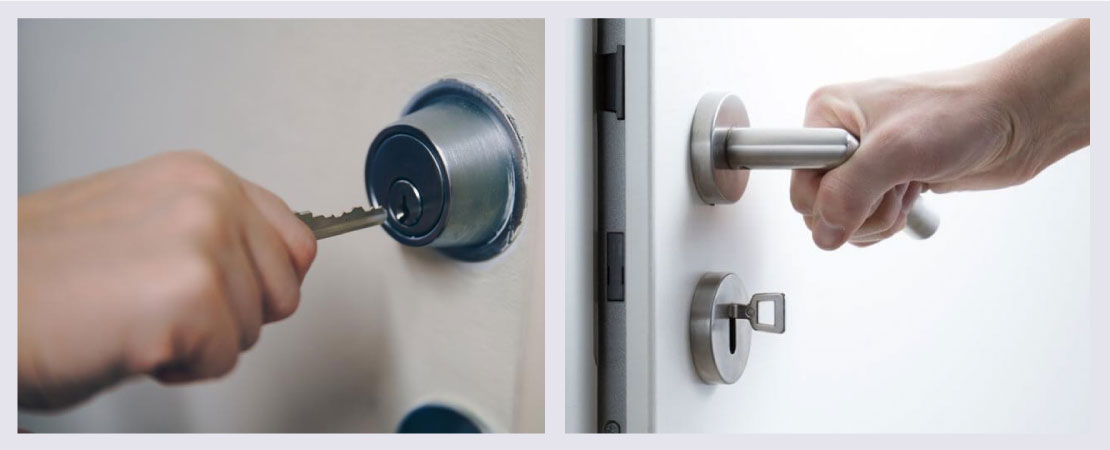
This is by far the most crucial point in the final walk-through checklist. You must start with the door at the main entrance and then proceed to check other doors and windows of the property. Are the windows and doors closing properly? Are the tower bolts, locks, and hinges operating smoothly? Are the latches tight enough? Do you notice any damage or decay in the doors and windows? Are there noticeable gaps between the window/ door frames and the walls? – Check every single thing and get them repaired as no compromise should be made with the safety and security of your home. If your previous dwellers installed burglar alarms, check for its functionality as well.
9. Don’t forget the Outside

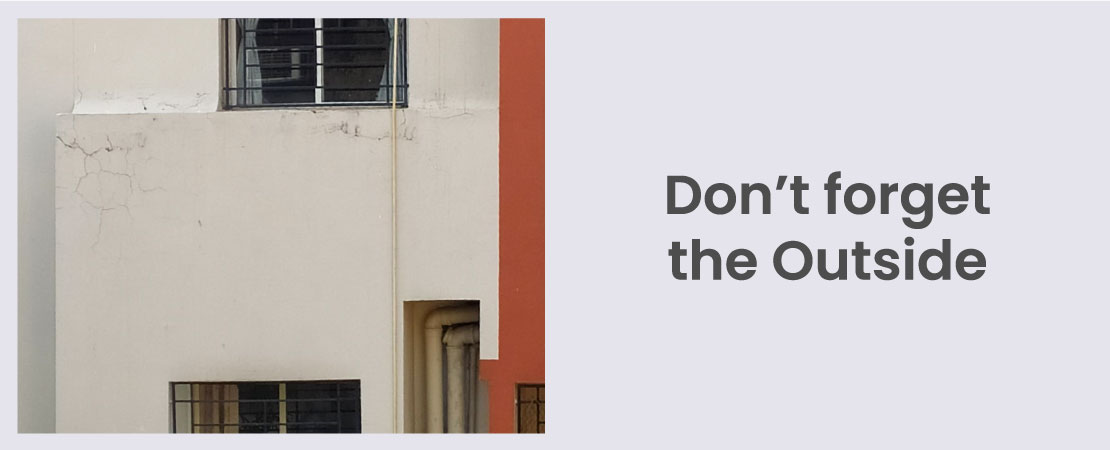
If you are more concerned about everything that you get to see inside the house, we have a few words for you. Your agreement would also cover the outside area around. Check that if it is left as it has been agreed upon. Who knows, there are cracks on the exterior walls and moisture intrusion is a major problem? Then you are bound to have penetrating damp in your interior walls too. If you hire a professional home inspection service, they will check the gates, boundary wall, driveway, etc and point out any deviation from the agreement immediately.

So, there we have you covered on your final walk-through. Discuss with the seller or the agent if you find anything problematic or you feel future hassles can be avoided once immediate measures are taken. Do not hesitate to demand a home inspection and make them understand its importance. Remember it is your hard-earned money that you are investing in. We certainly hope that everything falls in place and you can happily move into your new abode without worrying about any of the issues.

Still in two minds whether or not to go for a property inspection? Here’s why a homeowner/ buyer should go for a home inspection.

Painting Your House? Did You Treat Damp First?

Whenever any festive season arrives, we wish to give our home a new look which would provide a happy feeling. Hence, painting your house is surely on the cards. But wait, have you done a survey of the house and made a list of places where dampness has already intruded and left its mark or where you suspect there is seepage? If not, do it. Call for a home inspection service. And if you are already aware of the leakage and/or seepage and damp and still not considering treating them before painting then be prepared to waste a lot of money on those cans of acrylic distemper and emulsions.

It is not until recently that the paint companies have been making you aware of the effects of weather on your house and how choosing the right paint can stop the damage. Do you give as much thought to how your walls are compared to which shade to choose? No. It is time you be a bit more careful and look for any visible sign of dampness or seepage in your walls. Putting paint on a damaged wall will result in making it look beautiful but leaving it at a higher risk of damage.

Contrary to popular belief, paint or putty cannot permanently fix the problem of dampness. To effectively treat dampness, we must first conduct a thorough damp assessment with the help of home inspectors and then decide on the solution. Repairing the leakage definitely is the first step to treating damp.

Preface to house painting: Go to the root of damp and treat it

1. Repair plumbing faults

Water pipe leakage often releases water to the walls adjacent to it. For example, leakage from the water pipes in the kitchen or bathrooms can cause dampness on the walls of the apartment below it. To be sure, you must perform a thorough home inspection and check all the fittings and pipelines. Water leakage can occur in the internal as well as in external piping and even in the water tank itself. If you find any such leakage repair it first, without delay.

2. Check the indoor moisture content

The climatic condition of a place plays an important role in determining the condition of your house. In India, humidity is constant. Keep a check on the indoor moisture content of your house so that it does not overshoot the normal level. Ventilate your rooms and take other necessary measures to keep your walls and ceilings damp-free.

3. Pipe leakage in adjacent flats, damp in your home: Alert thy neighbour!

Be the friendly and courteous neighbour that you are and ask the family sharing floor or walls with your flat to check for leakage in their bathrooms and kitchen. This you do if home inspection finds no apparent problem in your home but you still see clear watery spots on the ceiling or bulging tiles in the walls of your bathroom. Once they fix the problem, damp issues in your home get solved.

4. Check for the conditions of your building’s exterior

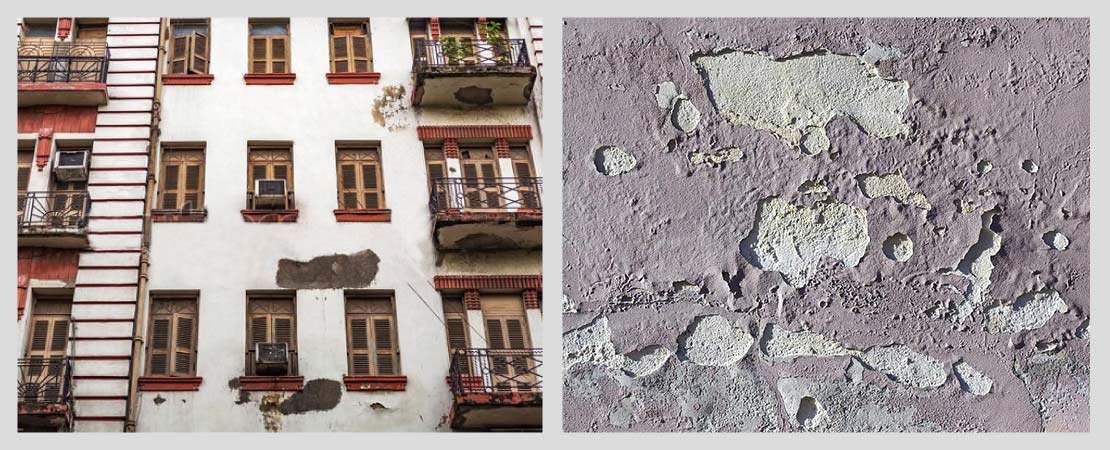
If the outer walls of your building are in good shape then the chances of dampness in your inner walls reduce drastically. Plastering and using a weather-shield paint variety on exterior walls gives them an extra layer of protection against moisture and rainwater. However, if the plastering quality is not up to the mark or the paint is old then it invariably leads to moisture absorption and damp.

5. Check the roof for leakage

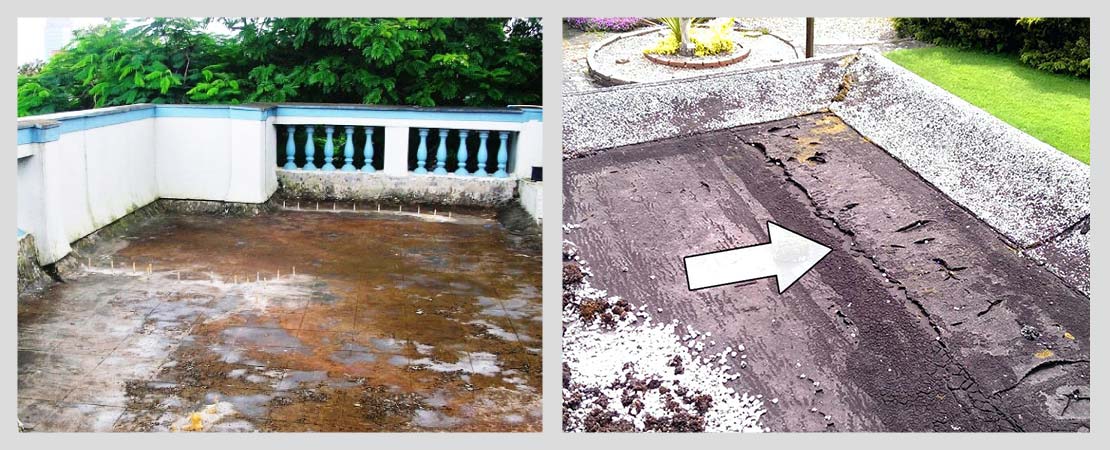
Water-logging in the roof is a cause of concern. Blockage in the vents can cause accumulation of a large quantity of water on the roof after rain. The water may seep through the roof and cause dampness in your ceiling. Other probable causes of a damp ceiling are crack in the roof, damaged waterproofing, etc.

Clear the blocked outlets on the roof, detect cracks if any through a home inspection and repair them, go for remedial waterproofing of the roof, or erect a rooftop shed to stop water accumulation and resultant dampness as per condition.

6. Close other sources of moisture intrusion

You may not know but there could be other sources of moisture intrusion in your home other than the ones pointed out above. Prevent moisture intrusion through these places and then proceed to paint your house.

Tips to prevent damp while painting

Use good quality paint

The paint you choose for your house can do more than enhance the beauty of the structure. Advanced paint solutions are enriched with silicon technology and so on. They absorb zero moisture and prevent water seepage through walls. Choose a weather-guard paint variety for the exterior walls and an equally good solution for the interior walls as well for the best results. You may consult a professional painter, who can guide you to choose the ideal paint for your house.

There are certain paints which also have proven antimicrobial properties1. Due to the action of such paint solutions, the growth of fungi and other microbes on the damp wall gets reduced. This is of immense importance as dampness is known to cause a number of ailments such as allergic rhinitis, skin rashes, etc. Consider using these paint varieties for a beautiful and healthier home.

Waterproof your walls

To strengthen the walls of your house from within and treat damp and seepage it is important to subject them to proper waterproofing. Make sure that both the ceilings as well as your walls are all waterproof. Your painting service provider will only do that for you. Just know the requirement well beforehand to calculate your budget. Who to consult with for that? – A home inspection service provider, who else!

Apply paint the right way

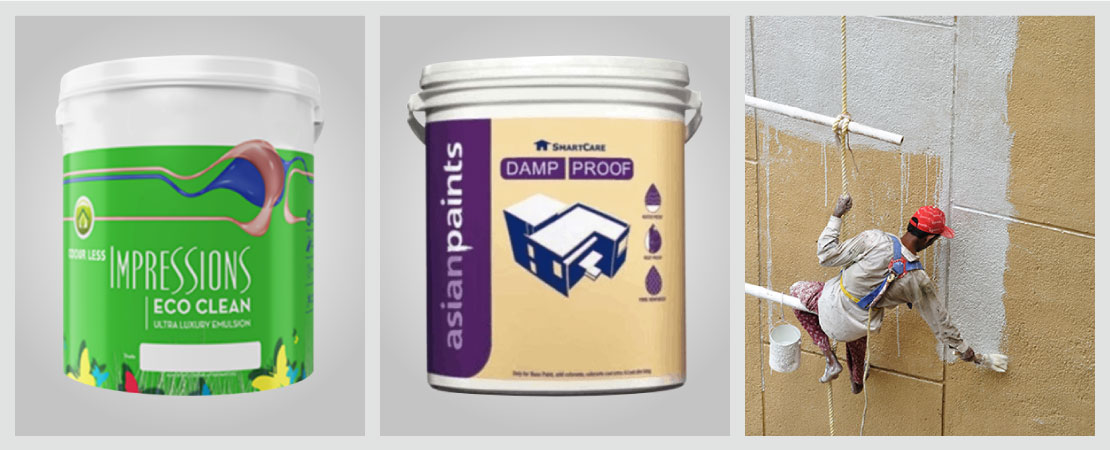
As mentioned earlier, only paint or putty cannot solve the problem of dampness. To effectively prevent or slow down dampness, you should apply paint only after applying the primer. First, you must apply some anti-dampness chemicals like Dr.Fixit2 or Asian Paints Care Damp proofing3, on the walls. Always follow manufacturer’s specifications properly.

If the problem persists even after all the remedies mentioned, call home inspectors to help you with a further damp assessment of your home. To learn more about the service, click here.

Setting AC to ‘Dry Mode’ Reduces Excess Indoor Humidity

The ultimate mantra of healthy home maintenance is: “Say Goodbye to Excess Moisture.” The more humid it is inside a house, the worse it gets for you to live in it. However, in India, if you are not living in a place such as Indore, Kota, or New Delhi where the annual average humidity1 levels are the lowest you are likely to find it challenging to keep the excess moisture in your home under control. It is more or less sultry throughout the year with the condition in some places getting even worse during monsoons. An appliance such as dehumidifier can bring you some relief in these scenarios.

Known for eliminating excess moisture from the indoor air, a dehumidifier can be a real Messiah in those unbearable, sweaty days but then, it is not that popular in India yet. Not everyone has a dehumidifier at home. If you are one of them, do not worry. Find out if your air conditioning system has a dry mode of operation. When it is too humid outside and you are sweating sitting under the fan, even on a rainy day, just turn the feature on and see what magical job it does!

What is the Dry mode in an AC?

Dry mode is a special function in the air conditioning system which when used, keeps the room atmosphere dry. The normal function of an AC is to cool the air in an enclosed area so that the temperature of that space is lower than the outside temperature. It does so via a refrigeration cycle in which warm air (containing moisture) is removed and replaced with cooled air. So, it does remove some amount of moisture as part of its normal functioning but during monsoon, when the humidity level is too high, the ‘dry’ mode categorically removes excess moisture from the indoor air making it all the more dry and fresh.

To ensure maximum dehumidification in dry mode, operate your AC at temperatures either lower or higher than the set one.

Do all ACs have dry mode?

No. The dry function is not a common feature of all air conditioners. Only a few brands have introduced it in their products. This mode allows the air conditioner to blow out cool air inside the room in a restrained manner as its main intent is to dry the air laden with moisture and not to lower the temperature of the room.

What is the right time to use dry mode?

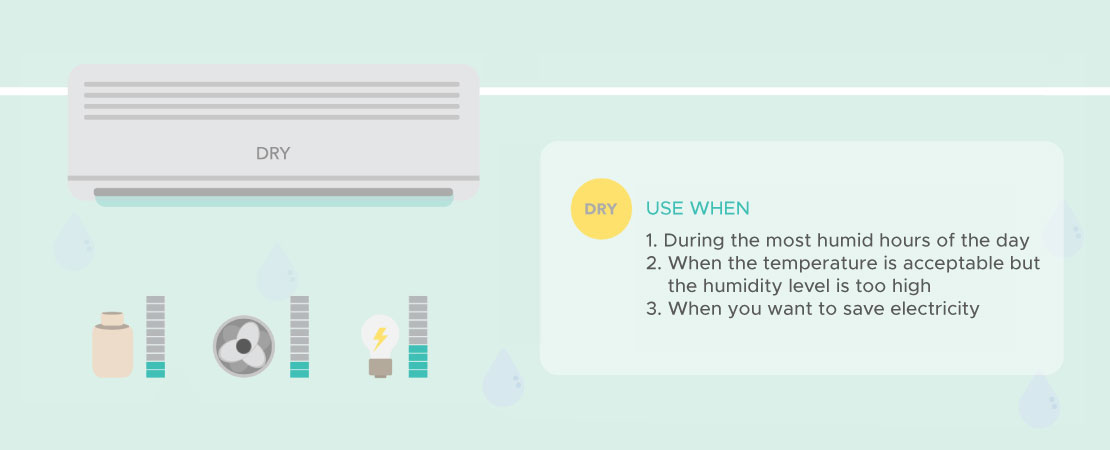
In India, during the rainy season, when the average daily humidity in most parts of the country is above 70-80%, just removing the extra moisture from indoor air provides a lot of comforts. It is the ideal time for running the AC in dry mode. Besides, you can use the function in the following conditions:

  • During the most humid hours of the day
  • When the temperature is acceptable but the humidity level is too high
  • When you want to save electricity

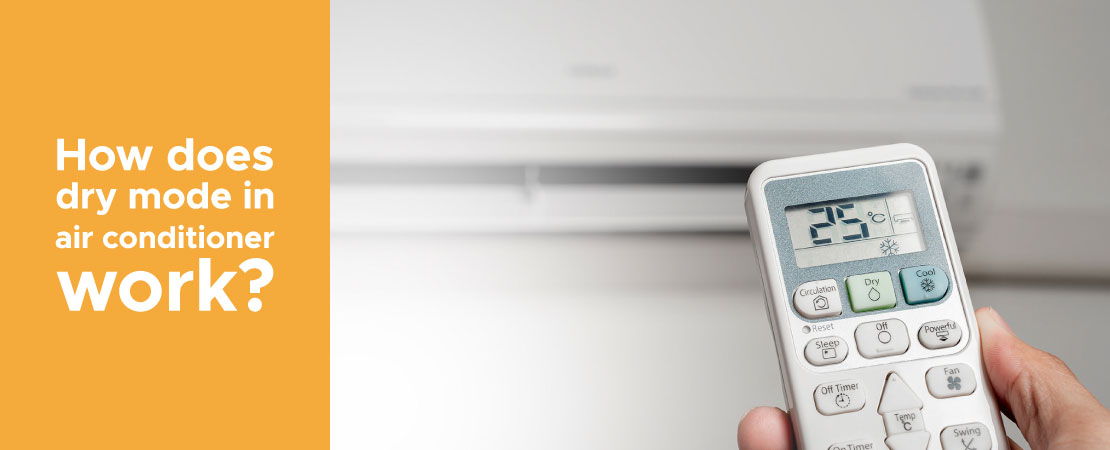
How does dry mode in air conditioner work?

In dry mode, the air conditioning system sucks the moisture out of the indoor air, keeping the room temperature at a comfortable level. The hot and humid air is taken into the unit and dried on the evaporator. Then it is again released into the room as dry air. However, the dry mode does not eliminate all moisture from the room. It keeps the room atmosphere relatively comfortable with 60% of humidity.

Do dehumidifiers and dry mode in AC working the same way?

There is a belief that air conditioners on dry mode work just the same way as dehumidifies but make no mistake, the functionality of the two appliances are quite different. Both reduce indoor humidity but in different ways. Dehumidifiers are specialized appliances which are used in cold and damp regions where excess humidity is found to cause major structural damages. It is undoubtedly the best home appliance for moisture control and water damage restoration.

An air conditioner on dry mode, on the other hand, ensures lower levels of moisture in a room while keeping the room temperature at a comfortable level. As stated earlier, it does not eliminate all the moisture from the air. The fan inside the AC unit runs at a lower speed and the compressor is on only for short durations in large cycles just to remove excess humidity or marginal humidity. Thanks to the low fan speed and shorter duration of compressor operation, the AC dry mode also saves electricity2 significantly unlike a full-powered dehumidifier which completely dehumidifies a room but consumes a lot of power in return. Using air conditioners on dry mode, hence, can save you up to30-50% of energy.

Is it really important that you use either a dehumidifier or an AC with dry mode in your home?

Dehumidifier and dry mode in air conditioner3 are two different things. The first one is a machine while the second one is a particular function of a machine. They cannot replace each other completely. But air conditioner with dry mode can certainly be an alternative of dehumidifier within a limited scope. If your home suffers from excess moisture problem, monsoon or no monsoon, and there is no dehumidifier to remove it, you can surely put your air conditioner on dry mode to enjoy an almost similar level of comfort.

It is okay if you do not have a dehumidifier or dry mode option in your air conditioner as long as moisture intrusion is not a problem in your home. Mind you, dampness not only affects the structural integrity of a house and devalues it by destroying its aesthetics but also brings along several chronic health problems. A damp house becomes a thriving spot for dust mites and other allergens which causes diseases like bronchitis, sinusitis, asthma, and skin rashes etc. Dampness welcomes water damage, decay, and many other household hazards which become recurring cost points for you and completely ruins ones mental peace.

Know it here why excess moisture is considered as a threat to your home.

Choose your Appliance wisely

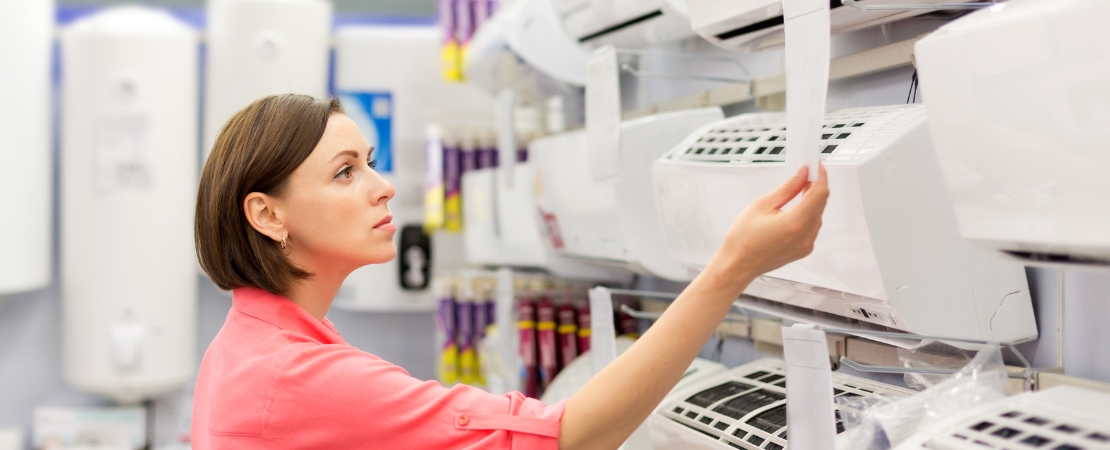
India is experiencing significant climate change. You can feel the humidity rising across the country at an alarming rate and so is the average daily temperature. Indian houses are not built to withstand the effects of these changed weather conditions. To live comfortably in your house, you need to think of ways that are both pro-health as well as economical. Since dehumidifiers are yet to become popular in this part of the world and air conditioners are still our go-to appliance for controlling indoor heat and humidity, you must buy the latter with advanced functionality. Be wise appliance-wise because technology is a key driver in making healthy lifestyle choices.

9 Essential Tips for Plumbing Maintenance

  • Fix leaky faucets & showerhead
  • Unclog slow drains
  • Check all exposed pipes for water leaks
  • Be careful what you flush or pour down the drain
  • Check the water pressure
  • Fix leaking toilets
  • Clean Cistern tank
  • Cleaning of Plumbing trap
  • Clean Faucet Aerator

What do you do when you have your bathroom/ kitchen faucet leaking or rusted pipes? Wouldn’t you prefer to avoid these plumbing problems? Understanding the problems and performing preventative maintenance can help you avoid plumbing problems and its dangerous repercussions on the health of your home.

Plumbing1 systems can develop issues in all sorts of ways, most of which are quite difficult to detect. By the time a plumbing problem does advance far enough to start causing some obvious symptoms, it is probably already done considerable damage. You obviously don’t want that to happen, so what do you do?

Taking care of your home’s plumbing is essential to keeping the clean water flowing in and flushing your home’s waste out. Most people don’t think about their plumbing until a problem arises. By then, however, they are left with a huge mess and, ultimately a high repair cost and water damage to your home. It is important to have periodical maintenance of your plumbing system.

Plumbing maintenance is something you should do regularly to catch small problems that can turn into large, expensive problems later. Maintenance also helps you conserve water and save you from further problems.

Here, are 9 essential maintenance tips for your maintaining your plumbing system:

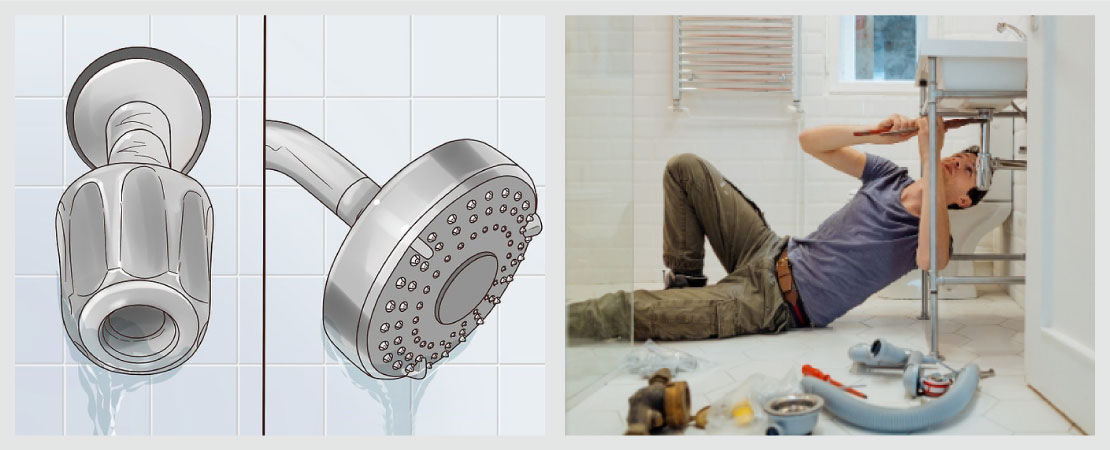
1. Fix leaky faucets & showerhead

Leaky faucets can waste a lot of water. And if you don’t fix a dripping faucet or showerhead, the drip can get worse over time. They aren’t just a nuisance – they could be costing you more money on your bills. Those problems can cause water damage. To prevent problems, check your faucets regularly for leaks and make repairs as needed.

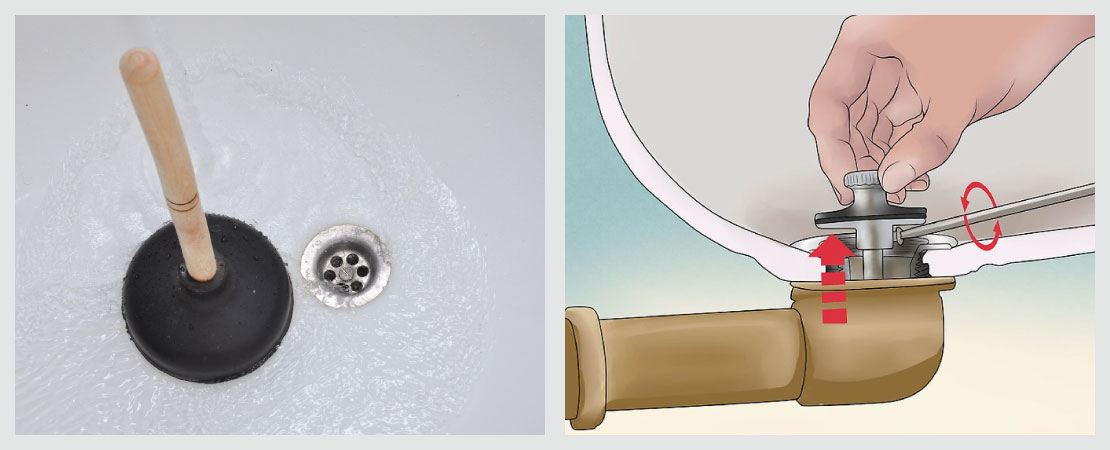
2. Unclog slow drains

When the water is slow to drain there may be a problem. If water takes a long time to drain, there could be a build-up of debris in your pipes. Dirt, dust & other debris — all of this nasty stuff can cause blockage in your drain. Before it gets out of hand, unclog any debris. You can read the blog by Wiki how to know how to unclog the drain2. This preventative maintenance tip can be done every few months and will get the drain flowing again.

3. Check all exposed pipes for water leaks

You can visually check exposed pipes for leakage at some intervals of time. Also Watch for visible signs of a leak such as water stains on walls and ceilings, or puddles of water. If there is any cracked or broken pipe, then get it repaired to avoid further problem.

4. Be careful what you flush or pour down the drain

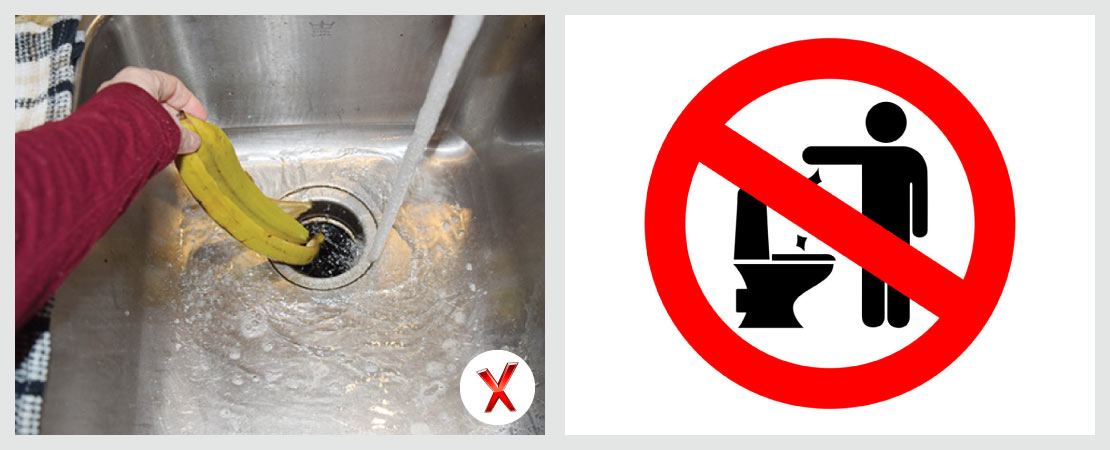
The problem with drains and toilets is that so many things can get flushed down them. The easiest way to prevent problems with your pipes is to be careful what you flush or pour down them. Don’t flush anything other than toilet paper and human waste down the toilet. Don’t pour anything that can create problem down the drain.

Flour or other related food stuff – these are just some of the things people pour down their sink. The problem is, items like these will block your drains and cause problems with your water supply. Instead, put these items in a waste bin.

5. Check the water pressure

Water pressure is how much force with which it is coming out of your faucets and shower heads. When water pressure is on a higher side, then there are chances of water leakage. If water is splashing too much due to pressure, you can regulate the flow of water with the help of main valve of the area (like bathroom).

6. Fix leaking toilets

If your toilet is leaking, then it is very important to check the cause of the leakage. This can happen due to absence of gasket or improper installation of WC etc. In case of leakage, get it checked or repaired by a skilled plumber.

7. Clean Cistern tank

Cistern tanks need periodic cleaning to prevent unwanted odour and the build up of bacteria.Cisterns can develop leaks which are caused by blockages. So it is important to clean them depending on the type of cistern. If it is a general type cistern, then it can be cleaned easily. To know about it, you can read blog by Wiki How3. But if it is a concealed cistern, then servicing to be done by the authorized vendor.

8. Cleaning of Plumbing trap

Plumbing trap is a part of the drainage system. It is developed or designed in such a way that it retains a small quantity of waste water from the discharge, of fitting to which, it is attached, as a barrier to prevent foul gases or air entering in the building. This includes cleaning of floor trap at outlet, bottle trap at sink, etc. So cleaning them is required for proper maintenance of plumbing.

9. Clean Faucet Aerator

Faucet aerators4 are small, but they actually serve a pretty significant purpose. They break up your faucets’ water streams into a bunch of smaller streams, and by doing so, greatly reduce the amount of water that pours out of spouts — all without sacrificing the water pressure.

Aerators are designed in such a way to act as filters as well as water savers. This means faucet aerators catch a lot of the silt, minerals, and other debris that flow through your tap water. Over time, debris builds up and can cause the flow from your faucet to decrease in strength. It is important to clean faucet aerators and screens to remove any debris from them.

Conclusion

Don’t let poorly maintained home plumbing prevent you from getting the best water available!

Performing preventative maintenance for plumbing system of your home, can help you avoid a major plumbing problem and can save your money. Sometimes you may need a repair after checking issues to keep them maintained. Although some repairs can be do-it-yourself, others may require more expertise. If you feel any point of time, to have an inspection of your plumbing system, you can contact professional home inspection services.

7 Common Household Hazards to Watch Out For

A home can turn out to be a surprisingly dangerous place if some obvious signs of caveats go unnoticed for days. The damage could be immediate and one-time or slow having far-reaching effects. To know how healthy is your home, you must be vigilant enough and run visual checks from time to time or opt for a home inspection for an expert assessment. A home inspection is capable of identifying every household hazard that can compromise your family’s safety and saves you from possible disasters.

Here are 7 common household hazards that you must watch out to avoid future damages:

1. Excess Moisture < Condensation < Damp

Damp is the silent monster that damages the structural integrity of a building. It creates unsightly patches on ceilings and walls, causes floor tiles and wall tiles to bulge at places and timber fittings to loosen over time. But damaged aesthetics is not the only side-effect of damp. It has a significant adverse effect on Human Health. It has a multiplier effect, the root cause of which lies in excess moisture generation inside the house. How is this excess moisture generated? – There are multiple ways and these are the real hazards for which you must stay alert:

  • High atmospheric humidity and poorly insulated walls
  • Plumbing failures leading to leakage/ seepage
  • Poorly fitted window frames and panes which can let in rainwater
  • Ponding or water stagnation on roofs or bathrooms due to wrong sloping of the floor, clogged drains, etc.
  • Construction defects leading to water penetration

Excess moisture leads to excessive condensation, which in turn results in a damp attack.

What can be done to prevent damp hazard?

  1. Damp proofing is the ultimate long-term prevention against moisture decay. Generally, at the time of construction, a preventive damp-proof course is installed at the base of the walls to prevent rising damp from damaging the wall fabric. If you still notice any signs of damage on the walls (especially, in the ground floor) you must consider a corrective damp-proofing but not before a proper damp assessment.
  2. Repairing plumbing leaks on an urgent basis.
  3. Waterproofing the ceiling.
  4. Ultimately, the objective should be to find the source of the problem for long term solution.

However, as we said, ruined aesthetics is just one of the numerous damages that are caused by damp. Dampness also leads to uncontrolled growth of disease-causing microorganisms and may cause accidents from short circuits in the concealed electrical wiring system of a house.

2. Algal and fungal attack

Generally misunderstood as condensation, the dark spots in your roofs are much more serious problem- algae. These are micro-organisms that grow in colonies in a damp environment. In a humid climate, especially in neighbourhoods with plenty of shade and trees, blue-green algae are seen growing on rooftops. Inside the house, fungal growth can be noticed on old, decaying furniture. Black spots of moulds though rare in Indian homes are also an obvious effect of damp. Moulds pose as a serious health threat for house inmates as they cause allergy, asthma, and skin diseases.

How to prevent fungal growth?

Proper cleaning and drying, preceded by water removal, is the only solution to prevent algae and fungal growth. But this activity should not be taken as a one-off task. You must repeat after every heavy shower or at least, after the monsoon so that the damp effect is reduced to the lowest. Using dehumidifier at home also helps to keep indoor moisture under check.

3. Fire hazard

Fire is the biggest killer among all home accidents and there could be multiple causes of fire. The most common causes are – gas cylinder leakage, a problem in the air conditioning unit, short circuit, water in the concealed electrical wiring system of the house.

How to minimize the risk?

  • Have your electrical system checked by a home inspection team
  • Ask your LPG delivery person to check the cylinder for any leakage
  • Turn off the knob of the cylinder when you’re not cooking
  • Switch to UPVC sheets from asbestos for driveways and roofing. Asbestos is both toxic as well as flammable
  • Consider installing a smoke detector in your house

Follow other standard safety rules to prevent a fire1 in your home.

4. Lead-based paint

Doctors refer to lead poisoning as ‘silent epidemic’. The human body cannot digest and excrete lead. So, long-term exposure to lead and its deposition in the body can cause serious damage to health, especially in infants and pregnant women. Paint is one of the many household products that contain this toxic element as pigments. Lead makes paint durable, moisture resistant, and helps in quick drying. But at the same time, it exposes inmates to serious health threats such as anaemia, learning and cognitive disability in children, and birth defects, etc.

Choose lead-free paint for a healthy & happy home

In India, nowadays, many major paint brands like Asian Paints, Berger Paints, and Kansai Nerolac are making lead-free paint2. If your house is old, consider repainting it, using products manufactured by these companies. You may also consider using their damp-proofing paint solutions3 if there is a damp problem. But before going in for any investment, get the hazard assessment done through a home inspection.

5. Carbon Monoxide

The by-product of combustion, carbon monoxide is a poisonous gas, having no smell or taste. Common household items like gas fires, oil-burning furnaces, portable generators, charcoal grills increase the risk of exposure to this poisonous gas. Frequent CO exposure can cause long-term problems including congestive heart and failed renal system, etc. CO binds to haemoglobin over 200 times more easily than oxygen. So, oxygen doesn’t find space to get into the haemoglobin. As a result, cells become oxygen-starved leading to death- a condition called CO poisoning.

CO leaks can be prevented by keeping appliances in good working condition. Besides, you must also keep your room well ventilated, use kitchen chimney, and stop using charcoal in an indoor barbecue.

6. Mud cracks, alligatoring, and other paint hazards

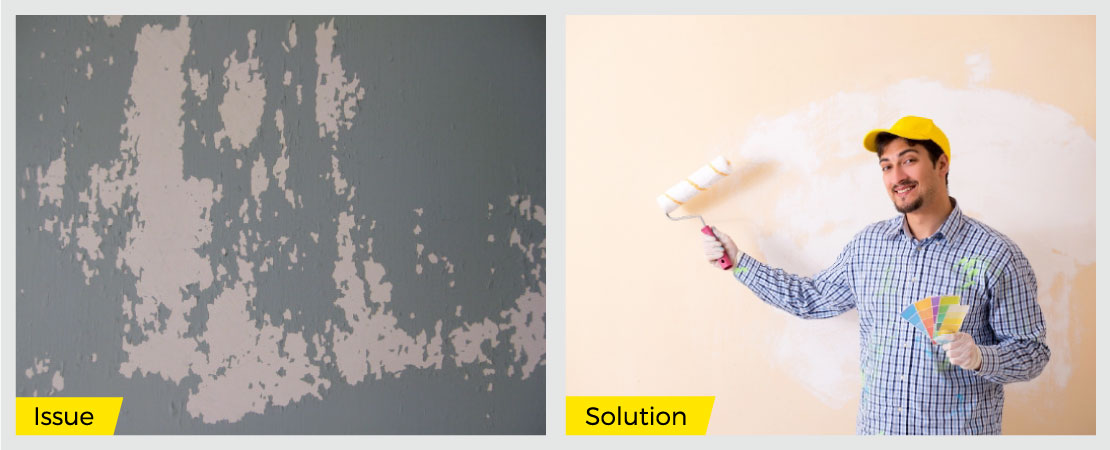
Limited tolerance of paint or asphalt to thermal expansion and contraction produces alligatoring4, a pattern of cracks resembling alligator skin. When left unattended, these cracks widen up to let in water from outside. Natural ageing of oil-based paints due to temperature fluctuation and other application errors may lead to alligatoring.

What can be done?

Alligatoring on painted walls can be repaired by removing the old paint and repainting them all over again. It is easy to find a remedy for such a hazard but you must get to the root cause behind it. And for that, a home inspection is the best solution.

7. Decay

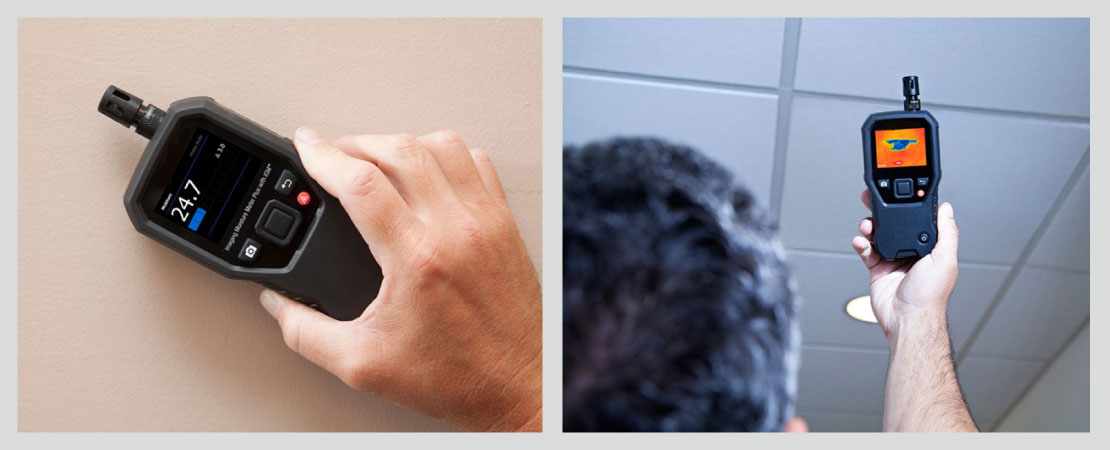
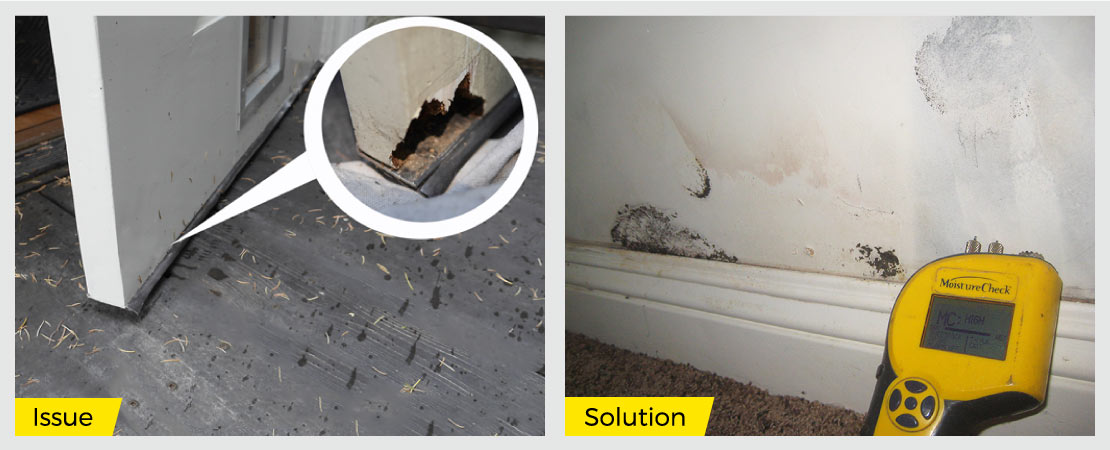
The disintegration of wood can be a real household hazard as it leads to fungal growth. You can easily identify a decaying wooden product5 in your home but what you may not gather is the cause behind it. The decay may set in due to many reasons. One reason could be the quality of the wood and the polish on it. The other reason has to be high moisture content of the house. To ascertain which one is the real cause, you must get seek an expert’s opinion. Home inspectors use moisture meters and other advanced technology devices to assess the moisture level of your home. They also throw light on small but important things like the ideal gap between walls and the furniture and extent of the decay, etc.
Maintaining a safe and secure environment in your home where you and your family can live without fearing any hazard is a basic priority. Sometimes you can ensure that and sometimes you cannot. Also, a DIY project is not always a feasible option. So, you must consult a professional if it demands so. Hire a home inspector and get your home checked for all sorts of hazard for we all know: A stitch in time saves nine.

6 Effective tips to keep your Home Germ-Free

The worst thing about germs or bacteria is that you can’t always see them. And when you can’t see them, you choose to believe they aren’t there. If there is no big lump of mould growth somewhere, that doesn’t mean your home is free of germs. There are several areas in your home that are guaranteed to be affected with bacteria or germs because they are often overlooked when cleaning, or just not cleaned regularly.

Your home is probably the safest place on Earth, but is it really? Your home may not be the safest place, unless you keep your home germ-free, hygienic and clean. Germs are everywhere and once they enter our body, they can cause great difficulty in our existence, sometimes even putting our life to a lot of risk/threat. If you all remember we have already discussed how to Keep your Kitchen Clean in our previous Blog www.macj-abuyerschoice.com/8-simple-tips-to-keep-your-kitchen-clean-and-germ-free. Keeping your home, free from the germs, is of the highest importance for health and hygiene & our wellbeing. What you need to know is where to find the germs and how to germ-proof your home. So, in this blog, we will discuss the tips to keep your home all around germ-free.

Let’s have a look at some effective tips to keep our home germ-free:

1. Follow a regular cleaning routine

Cleanliness is very important to keep your home germ-free and maintaining a proper cleanup or cleaning routine will help you a lot. If you are a busy person, I know it is difficult to clean your home all at a time and frequently. But, some regular cleaning of small portions of your home can be done. If not regularly, then at least on alternate days. At the same time, your full home will also get cleaned within a few days. Our aim is to make the entire home germ-free. But while cleaning your house, pay special attention to the kitchen, dining area and bathroom because these are the areas that need more attention. We have already discussed about how to keep your kitchen and bathroom clean in our previous blogs.

2. Keep your home dry

The usual fact is high moisture content and humidity are favourable conditions for the germs like fungi, bacteria, etc to breed and so you will have to be very careful especially in the rainy season. The easy way to solve this problem and to keep your home germs free is by properly utilizing the fans. This will enable your rooms to stay dry and will decrease the occurrence of mould, stinks, etc. Bathrooms are one of the wet areas, which needs to be kept dry. To know more regarding how to keep it dry you can read our blog- ‘8 Ways to remove bad odour in Bathroom, & keep it clean’ (www.macj-abuyerschoice.com/8-ways-to-remove-bad-odour-in-bathroom-keep-it-clean).

Alternatively, Table fans can be used for high moisture area, switch them on when you feel wet. So by keeping your home dry, you can keep your home germ-free.

3. Disinfect the germ affected places

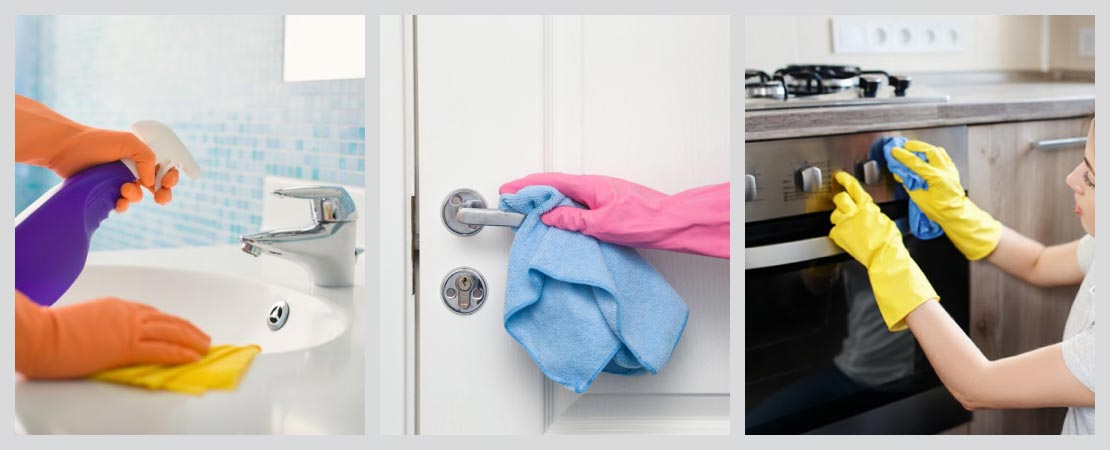
The most germs spread through places in your home are those that are touched very often. These include doorknobs, handles, faucets, appliances, remotes, etc. Germs can live on these surfaces. Hence, regular cleaning of these handheld hot spots is imperative. Use a germ-killing cleaner to disinfect these surfaces by spraying on a generous amount. Certainly, some items cannot be exposed to excess cleaner liquid, so consider soaking an end of the cloth in the disinfectant and use that to carefully wipe your no-wet items. Keep in mind, the killing of bacteria happens as the cleaner evaporate so avoid dry-wiping or touching until completely dry. Also, if you find that the liquid is drying up too fast, re-spray the area and leave it alone.

4. Disinfect Household Linen

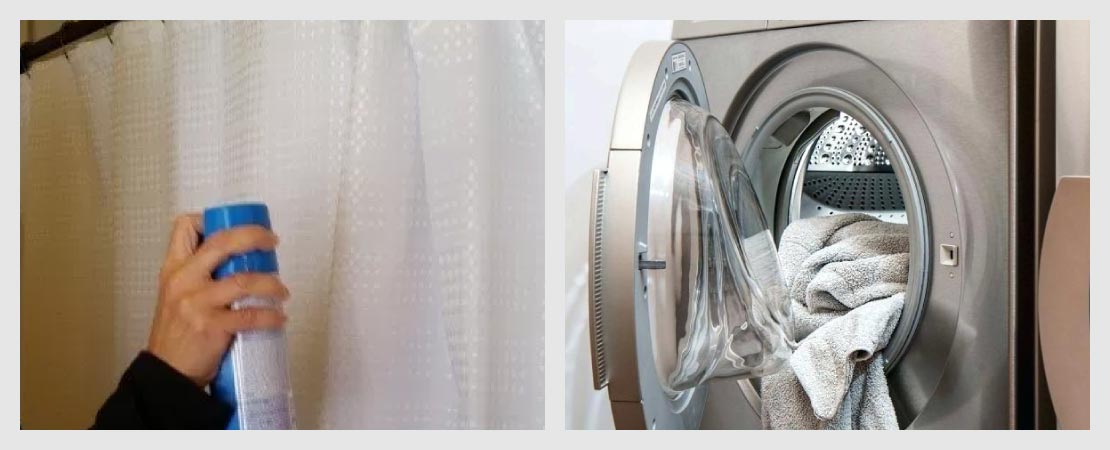
Bed linen, bath towels, sofa cushions, and window curtains may all be homes for germs and bacteria. They require regular laundering with antibacterial detergents to disinfect or kill the germs hiding within the fibres. Of course, you can’t wash your linen on a daily basis. Spray disinfectant on curtains at night when everyone is ready for bed so that any dampness will dry overnight. Household linen needs to be disinfected at least twice a week to help keep your home germ-free.

5. Avoid Germs entering In Your Home

We should keep a shoe rack close to your front door so that you can take your shoes off and put on your house slippers before you walk further into your home. The footwear we use to go outside picks up all kinds of dirt and bacteria that we then drag inside our homes when we walk in with same footwear. So, instead of putting on/taking off your shoes in your room, do it at the main entrance door to ensure that they aren’t spreading bacteria inside the house.

6. Natural remedies for a germ-free home

Many disinfectants available in the market are filled with chemicals that can be harmful to health. So alternatively, you can try a few natural remedies for a germ-free home.

As per Common Floor blog ‘Tips to germ proof your home’ www.commonfloor.com/guide/tips-to-germ-proof-your-home-12963.html White household vinegar is a great way to keep your home germfree. Fantastic for cleaning everything from countertops to carpets, and also this non-toxic, multipurpose product eliminates more than 90 percent of bacteria and more than 80 percent of mould and germs. Some alternatives such as lemon juice, tea tree oil, oregano oil, or lavender oil have properties that kill microbes.

Other tips are to ensure proper ventilation, keeping bathroom clean, cleaning dishcloths properly, kitchen waste management, etc. These are already discussed in our previous Blogs – 8 Simple Tips to Keep your Kitchen Clean and Germ-free; 8 Ways to remove bad odour in Bathroom, & keep it clean. Kitchen and bathrooms are wet areas of the home and are more prone to get infected by germs. So for keeping your home germ-free and clean wholly, it is important to germ-proof all areas including bathroom and kitchen.

Kitchen waste management is already discussed but dirt/waste of other areas needs to be taken care. Hence your home must have dustbins in its important corners and you have to make sure that they are being utilized properly. Any kind of residue that falls on the area must be immediately picked up and thrown into the dustbin. However, using the same dirty dustbin for long is also unsafe. Because, if you keep the wastes in it for a long time, then that is enough to make it turn into a breeding ground for germs. It will also stink and infect the air & make the full home stinky. You must empty the dustbins frequently in the corporation cars meant for dumping garbage or throw them into your common community garbage bin to avoid this. You must also not forget to properly clean and disinfect your dustbin.

Also, check out a table of how often you should clean some of the things in your home:

Every day
  • Wipe Down the Countertops
  • Wipe Down the Kitchen Sink
  • Sweep and mop the Floors
  • Take out the trash
  • Do laundry, as needed
Once A Week
  • Wipe Down the Appliances
  • Clean & scrub the toilets, tubs, showers, and sinks (This depends on bathroom condition too)
  • Clean the mirrors
  • Dust the furniture and shelves
  • Disinfect the garbage cans
Once a Month
  • Clean the inside microwave and oven
  • Clean the bathroom and kitchen cabinets
  • Wipe Down the door knobs, switch boards and lamps

Conclusion

Germs are everywhere and may cause trouble in our lives, sometimes even lead to health issues which may be life-threatening. While avoiding contact with germs is not always possible, but we can at least do something to protect ourselves from them. The first thing is to maintain good hygiene and keep our living environment germ-free. Cleanliness is the primary way to do it and also by the systematic and neat arrangement of things in our home.

Today we talked about some tips on how to keep your home germ-free. Follow these and keep yourself and your environment clean. This is important for maintaining the health and hygiene of your family.

11-Point Checklist to Simplify Home Buying

The idea of buying a house or an apartment has undergone a sea change. It is no longer only about owning a space where one can live comfortably in a city for years; home buying has evolved as an investment decision that today’s ‘anywhere generation’ takes to reap good returns, irrespective of where they are stationed for work.

Nevertheless, the decision to buy a home is an important one and it demands in-depth research, proper guidance, and a lot of legwork. From applying for the home loan to getting a final home inspection done, every step requires the home buyer’s active participation. If you’re getting into the process anytime soon, here’s a checklist you can bank upon:

1. Research

Internet is a treasure trove of information for home buyers. Browse thoroughly and make a list of upcoming, new real estate properties that are already open for advance booking. Get to know about each of the properties, where it is located, the neighbourhood, and the security. Don’t forget to take a virtual tour of it to get a feel of the place. Calculate the acreages and then, depending on your budget, you shortlist the properties. You can also consider looking up the property selling websites for a good deal. Going old-school is also advisable in the case of home buying. Keep an eye on the Real Estate page of the newspapers and magazines so you don’t miss out on a lucrative deal. Some of the prominent websites for research include www.magicbricks.com, www.99acres.com, www.makaan.com, www.housing.com/in/buy, www.proptiger.com, www.regrob.com, www.remax.in, www.commonfloor.com, www.nkrealtors.com, www.squareyards.com, www.jll.co.in, etc.

2. Site Visit

Plan a visit to each of the shortlisted property sites but not before you have made a checklist of amenities you would wish to have in there! If the house/housing complex is at its Phase Zero or under construction, take a tour of the site, talk to the realtor and try to know if the property actually has those amenities or not. Also, note down the details of the price and the payment/ loan options. Mark ‘right’ if you like the property and move on to check the next.

3. Builder/ Seller’s document verification

Once you have zeroed in on a property, ask your builder/ seller for the clearness certificates and other legal documents. A builder’s credibility is a crucial factor in home buying and so, you must consult a lawyer who can guide you in the matters of paperwork. Get the builder’s document verified by the lawyer. This will protect you from any possible breach of trust and breach of contract in the future. In case it is a new project check the State RERA website for project detail/ status/ approvals, etc. Any project with a land area over 500 square meters or includes eight apartments or more must mandatorily register their project along with all the relevant details on the State RERA website. Some of the State RERA websites are www.hira.wb.gov.in (West Bengal), www.maharera.mahaonline.gov.in (Maharashtra), www.tnrera.in (Tamil Nadu), www.rera.karnataka.gov.in (Karnataka), www.dda.org.in/rera (Delhi), www.up-rera.in (Uttar Pradesh), www.haryanarera.gov.in (Haryana), www.rera.goa.gov.in (Goa), etc.

4. Check your neighbourhood

Do a review of your neighbourhood development, the availability of basic amenities/ utilities, like grocery, fruits & vegetables, logistics, computing resources (autos/ bus/ cabs/ metro), etc. The developments in and around your apartment are very important to be checked thoroughly.

5. Home Inspection

If you’re buying a resale property, the next important step will be a home inspection. Get a complete health and safety checkup of the property you are buying. This is the step that helps you to take an informed home buying decision by assessing the property against parameters such as Moisture Content and/or Dampness, Electrical Wiring condition, and condition of Water Pipeline, Cracks, Electrical issues, etc. There are possibilities that the seller will try to convince you about the worthiness of the property and somewhat discourage you also from getting the home inspection done. But you being the buyer must go for it.

A property, in all likelihood, will have mild to a severe damp problem and other issues like leakage and seepage, crack, electrical/safety issues, other construction related issues. Due to finishing/ renovation, they may not be visible from outside. A professional home inspection can help you detect this problems and save you from future harassment. All the elements like wall, ceiling, floor, doors, windows, plumbing, electrical, etc have to be check properly.

6. Organizing home buyer’s credentials

Once you get a nod from the third party property inspection company, proceed to organize your KYC and financial documents and credentials. When you apply for a home loan advance, the first thing a home loan provider asks for is your financial reports. These include your KYC documents, credentials, income tax returns, bank statements, etc.

In case you’re not sorted out, finding these reports can turn out to be tedious and faulty at the end. So, organize everything in a folder that you can access it easily. The sooner you find and forward the files to the home loan provider, the sooner your application is accepted and you get endorsed by the bank for a credit.

7. Credit score check

You may think you have an astounding credit score, but the actual report can paint a different picture. To avoid getting last minute surprises (read ‘shocks’), check your credit report in advance. In India, companies, like CIBIL, CRIF High Mark, Equifax, and Experian provide such reports. You can get your free credit score generated from any of these companies, once in a year.

Check the report for any mistake and initiate the process for a new record generation if there’s any indication of possible fraud. Remember, any mistake on your credit report can bring down your credit rating and imperil your home loan approval.

8. Getting Pre-Approval Loan

After assessing your credit score, the bank releases a confirmation (virtual) of loan approval. The pre-approval loan gives you the initial financial support with which you can make down payment for booking the property. However, the loan comes with a time window within which if you fail to purchase the property, the bank cancels it. Do read our related blog for more information on this…… www.macj-abuyerschoice.com/guide-take-home-loan-dream-home

9. Construction monitoring

If you’re buying an under-construction property, visit the site periodically to check if all the commitments made by the builder are being fulfilled properly. If you’re staying abroad or in a different city and is not possible to visit the site in person, delegate the duty of checking to a professional home inspection company. They will report you from time to time and coordinate with the builder for any real-time modification.

10. Completion of purchase

Complete the legal diligence followed by the signing of the sale agreement. If you’re an NRI, your property manager will help you prepare the agreement papers. Recheck the sale deed so as to make sure all the specifications of your home are met.

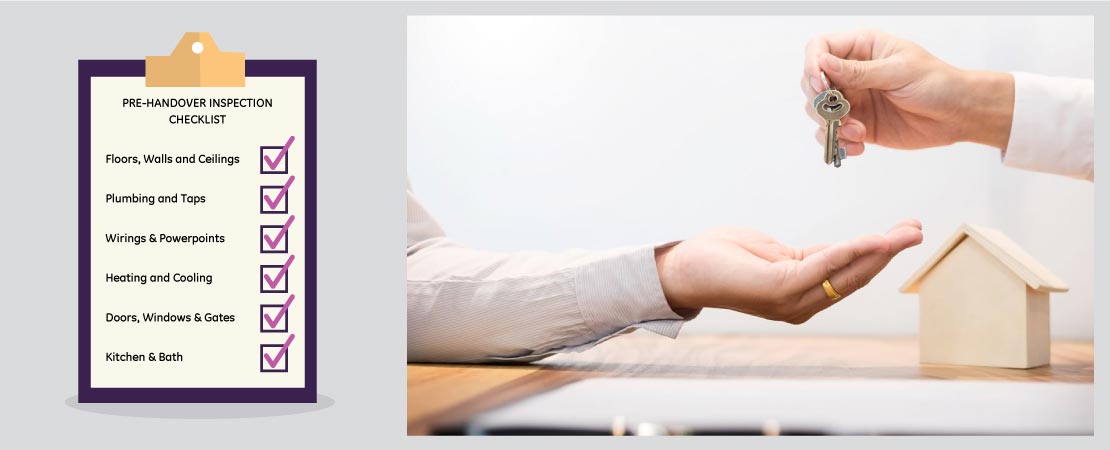
11. Pre-handover home inspection

Finally, get a professional home inspection done to make sure the property is ready for moving in. Once ‘Okayed’ by the company, proceed to further activities like doing your home interiors.

There’s nothing more exciting than purchasing a home. But, the tonnes of paperwork and issues like appraising a property’s health can make it less gratifying. Follow the above tips to make the complicated home buying process smooth sailing for you.

8 Safety measures you need to take in your Homes

Be Safe Be Alert

1. Buy (deadbolt and chain) Locks

For added safety, consider installing a deadbolt and chain lock if your door doesn’t already have them. A deadbolt is more secure and difficult to pick than a standard doorknob lock, because the deadbolt only opens by rotating the lock cylinder, whereas a spring bolt lock can be withdrawn by applying force to the bolt itself. Additionally, a chain lock provides an extra layer of security when opening your door, allowing you to open your door to an extent only to talk to a stranger or ask for identification, before opening up completely.

2. Lighting in the apartment

An apartment with lots of lights is rarely at risk. One can have an entryway and the sideways flooded with lights which will make it easier for anyone to recognise strangers.

3. Buy Good Blinds / Curtains

This will prevent robbers from looking inside your home and being tempted by all the valuables they see. Install blinds / curtains that completely block the view from outside, and make sure to close them when you go out. That way, you’ll keep the wandering eyes from scanning your valuables and reduce your risk of break-ins.

4. Use a Safe

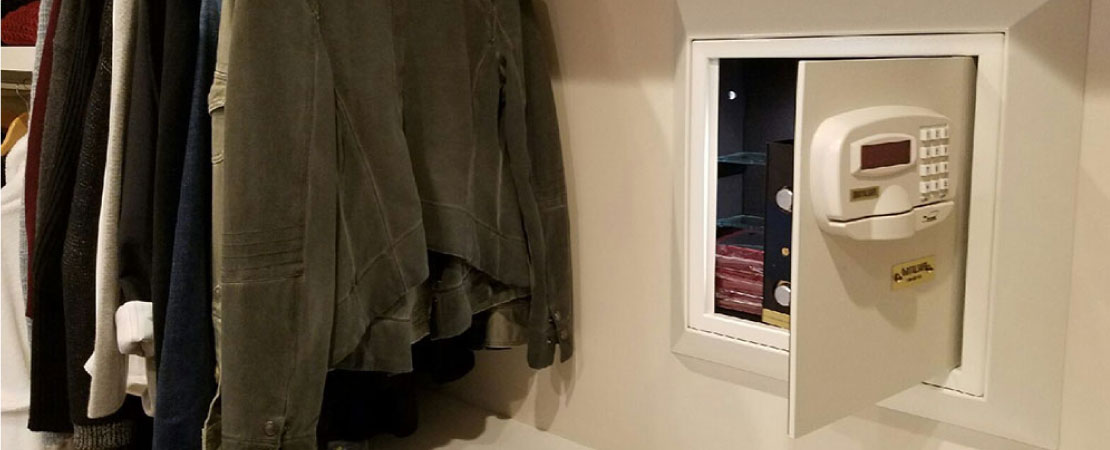
A safe can be a last line of defense to protect your most valuable possessions. Items such as jewelry, cash and sensitive documents can be locked away in a fireproof case. Find a safe that fits your budget and needs, and talk to your carpenter about bolting it to a floor or wall, so a burglar can’t pick it up and take it.

5. Install a Security System

CCTV cameras have become a must nowadays. Have them installed in strategic positions which will cover the key areas of your home. And needless to say install the app in your phone also. In that way you can keep an eye even in your absence. Work to make sure your residence is secure, and take personal steps to keep it that way.

6. Keep a written schedule or reminders of events

If you’re expecting a package through a company jot down the estimated date of arrival. Schedule all appointments, such as cable / internet company, electric, equipment servicing or other necessary needs at a specific date and time. Be sure that you get identification prior to allowing them in, even if it’s having them slide a badge under the door if there isn’t a peephole available.

7. Be careful on how and whom you notify when leaving your apartment

Never, under any circumstances, leave short notes on your doors for others that reside with you. You will never know who is around while you’re gone. Always give the intended party a short call or text message letting them know your whereabouts, even if it’s a short trip to the store. Always contact nearby family and friends when planning on leaving for a longer time duration.

8. Neighbors make a huge difference in the quality of life

We should have some amount of rapport with our neighbours and other residents. It’ll give us a sense of security of knowing those living around us. Offer a hand to your elderly neighbors, such as carrying groceries from their car. Living in a complex may gives us a chance to befriend each other and create a healthy bond. By this, we can be of help to each other. Treat their packages left outside like your own and leave it by their doorstep instead of ignoring it as you pass by.

Throughout the year, the facility manager or the person in charge is required to check the maintenance of the overall building and your own apartment, such as proper lighting, smoke detectors, and apartment inspections. Usually a note to all residents will be posted somewhere near the main entrance or mailboxes prior to the intended date. They may also need a secondary person to assist with assignments, so thoroughly read any notices to be aware of the situation.

9 Steps to Make Your Home Monsoon Ready

If summer comes, can monsoon be far behind! Every year by the end of June, monsoon arrives in major parts of the Indian subcontinent ushering in a prolonged spell of light to heavy rainfall. There is a visible change in life everywhere. Nature’s palette all of a sudden gets filled with diverse shades of green. But beauty and relief aren’t all that the season of showers brings along with it.

The rains turn out to be quite an ordeal for our beloved homes. Hidden crevices and leakage in the home infrastructure lead to damp and seepage problems, and if a home is already suffering from one of such problems, during heavy rainfall, it tends to get intensified. Result? – Damage at multiple levels.

Damp, seepage or leakage has a toxic effect on the health of a house. There are watery patches and black mildew spots on the exterior or interior walls, plaster and wallpaper start peeling off, tiles on the bathroom and kitchen walls seem to bulge out, and in worst conditions, ceilings become leaky and water starts dripping down the walls!

Damp poses serious health threats to the inmates of the house. The high moisture content leads to the growth of microbes such as fungus, mould and algae turning home into a hub of diseases. Allergic rhinitis, bronchitis, asthma, skin and sinus infections become a regular concern. To add to the plight of all, a typical odour of dampness fills the air triggering discomfort and claustrophobia.

To avoid such torment every year you need to be a little alert. Even before the first shower of the season wets the earth you must make your homes monsoon ready. Here’s how you should go about it:

1. Examine the house visually

Take a closer look at your home. Do you see any crack or damaged tile on the ceilings or the walls? Is there a leaking pipe in your kitchen or bathroom? Get it repaired immediately or else, the monsoon rains will worsen things further. Damp spots are obvious if there is seepage on the wall. But then, these are signs of deeper problems which call for expert intervention.

Find the underlying cause of water seepage

Water seepage is a common problem in regions receiving high monsoon rainfall. Studies show within five years of construction completion, water starts seeping through the external walls of a building. The main reason in most of the cases is poor construction practices. The findings of a survey conducted on about 10,000 households in Mumbai revealed the use of single layer of brick walls. As a result, cracks develop on them easily resulting in water ingress.

Other reasons for water seepage are:

  • Water absorption and permeability of the wall materials
  • Faulty control joints and expansion joints
  • Penetrating moisture
  • Capillary action-led rising dampness
  • Developing honeycomb structures in plaster or concrete
  • Inadequate separation gaps

All these issues can be addressed through visual inspection, waterproofing & crack bridging of walls.

2. Clear blockages in the drainage system

Make sure there is no blockage in the drainage pipes of the buildings to avoid overflows and water-logging. Standing water in the roof, especially, can be a real headache if not cleaned in time. The water tends to seep through the ceilings and walls before finally making its way through cracks not visible to the naked eyes. Soon, ugly water spots begin to show up and the ceilings and walls start flaking and sprouting moulds. To solve the problem you may opt for roof waterproofing but before that, get a thorough inspection done for a long-term solution.

3. Service your big home appliances

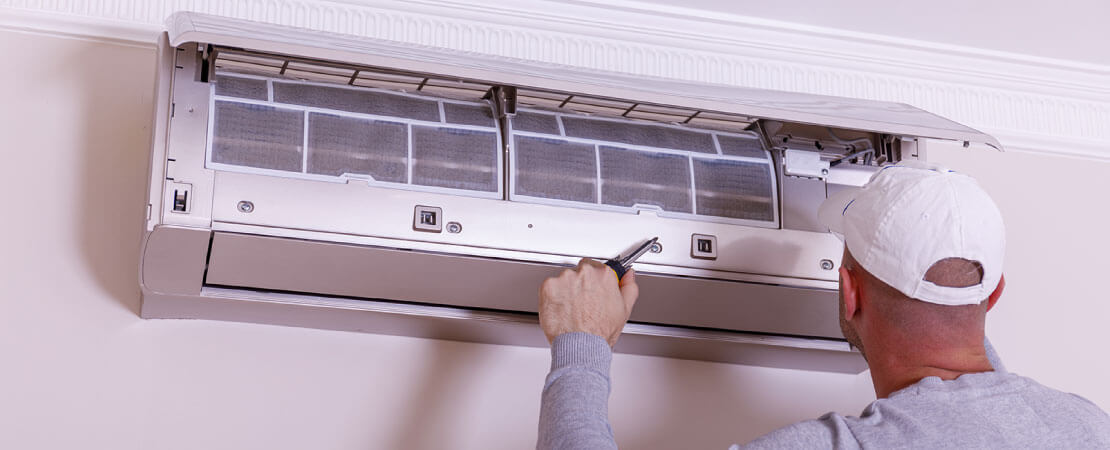
Before the onset of the monsoon, get all your big home appliances serviced. Check your air conditioner for any possible leakage, both in the indoor as well as the outdoor unit. Defrost the freezer and drain the water if required. And finally, make sure your washing machine spinner/drier is working in its optimal condition so that even if you have to dry your clothes indoors when it is raining, you don’t end up increasing moisture content of your home. Servicing your home appliances will also reduce the possibility of bigger problems like electrocution.

4. Ventilate your home properly

Proper ventilation is crucial for maintaining a damp-free, healthy environment at home. Keep your windows open when you are not using the AC and let the fresh air and natural light come in. Sunlight kills mould spores and fungus and helps to reduce in-house moisture content. You may wonder why bother about the moisture condition of your home? Well, moisture is the invisible culprit that disturbs the functioning of your building system rendering it weak, over the years. It is important that you learn to identify the common symptoms of the moisture problem and save your home and family from long-term damages.

5. Get rid of pests and insects

Ventilating will address pest issues of your home only partially; to get rid of them completely, go for a pest control drive. Make all the possible passages, corners, outlets, and cracks of your house pest-free. This will not only help reduce the chances of allergy and infection in monsoon but will also stop cracks from widening further.

6. Keep your surroundings clean

As you ensure your home ventilation, do not forget to check the surrounding area too. See if any tree branch is leaning on your terrace. Cut or trim it before it gives way during a heavy downpour damaging your walls. Also, check if any loose electrical overhead line is hanging near to your building. Alert the civic authority of your area and get it fixed to avoid major electrical accidents.

7. Other nitty-gritty of a clean home interior

Wooden doors tend to swell with moisture in a damp house. During monsoon, the problem increases. So, get them fixed by your carpenter properly while also putting a fresh polish on them to minimize water absorption. In the case of metal-framed doors and windows, it is advisable to go in for a repaint to avoid rusting and seepage of rainwater through them. Get your windows sealed with a good sealant.

Furniture is another crucial part of home decor. Clean them regularly with dry clothes to keep them dirt and fungus-free.

8. Get moisture / damp intrusion of your home assessed for long-term solutions

No matter how vigilant you are about your home, you cannot vouch for its complete monsoon-readiness. There is always more than what your eyes can see. So, it is better to seek an expert’s help and get things assessed properly by a Home Inspection Company.

Deeper causes behind moisture, damp, seepage and leakage:

  1. Condensation – happens when a property is unable to deal with the normal level of moisture inside it. It happens due to lack of insulation, poor ventilation, or a combination of both things.
  2. Rising damp – happens when the water vapour tends to rise from below the ground level to a height of about one metre of the building.
  3. Penetrating damp – happens when rainwater or water from an external leakage enters into the envelope of a building.
  4. Construction damp:
    1. Plumbing failure
    2. Concealed leaks i.e. leaks in AC gas pipe, drain pipe etc.
    3. Humidity on toilet tanks, HVAC systems, water pipes, and other mechanical objects

It is impossible for a person who is not an expert in construction and engineering to speculate the above problems in an apparently healthy home. Only someone equipped with an advanced solution like thermal imaging technology can detect the problem by going to the core of it.

9. Do consider a thorough electrical inspection

Everyone knows water and electricity make a dangerous combination. If your home is damp and there is a hidden problem in your building’s electricity line, monsoon will bring you serious headaches. Your home will be vulnerable to minor to major electrical accidents. To avoid any such mishap it is important to get your entire home electrical system inspected so that even the smallest of problems are detected and you are able to repair it in time.

In India, data shows that the majority of household fires are caused due to electrical short circuits. Though there is a regulatory framework in place the awareness against electrical fire safety is lacking big time.

We all know that prevention is better than cure. So, do not leave your home’s safety at the mercy of the Rain God. Get a timely damp/seepage inspection of your home done along with a detailed assessment of the electrical system. Then as per the reports, repair and refurbish the damaged parts, and be ready to welcome the monsoon!


Reference

www.nbmcw.com/product/waterproofing-repair/28659-waterproofing-external-walls-of-buildings.html

www.ieema.org/electrical-fire-safety-be-smart-be-safe

‘Secret 7’ ways to save energy at home

Want to spend less and save more? Here are the ‘Secret 7’ ways to do so.

Energy conservation is important and very beneficial. The two major motives for conserving energy are to save on utility bills and protect the environment all through simple energy-saving measures. By simply taking few small steps towards living a more energy-conscious lifestyle, you can begin to enjoy all of the perks of being energy efficient. There are many different ways to reduce your household’s energy use, ranging from simple behavioral adjustments to extensive home improvements. Here are seven common ways to conserve energy and save electricity in your home.

1. Replace Glowing lights

The average household dedicates 11% of its energy budget to lighting. Traditional incandescent lights convert approximately only 10% of the energy they consume into light, while the rest 90% becomes heat. Turn off incandescent / shining lights when you are not in the room.

2. Adjust your day-to-day behaviors

To reduce energy consumption in your home, you do not necessarily need to go out and purchase energy efficient products always. Energy conservation can be as simple as turning off lights or appliances when you do not need them. The behavioral adjustments that have the highest potential for utility savings are using your air conditioners (AC) in a limited manner in the summer.

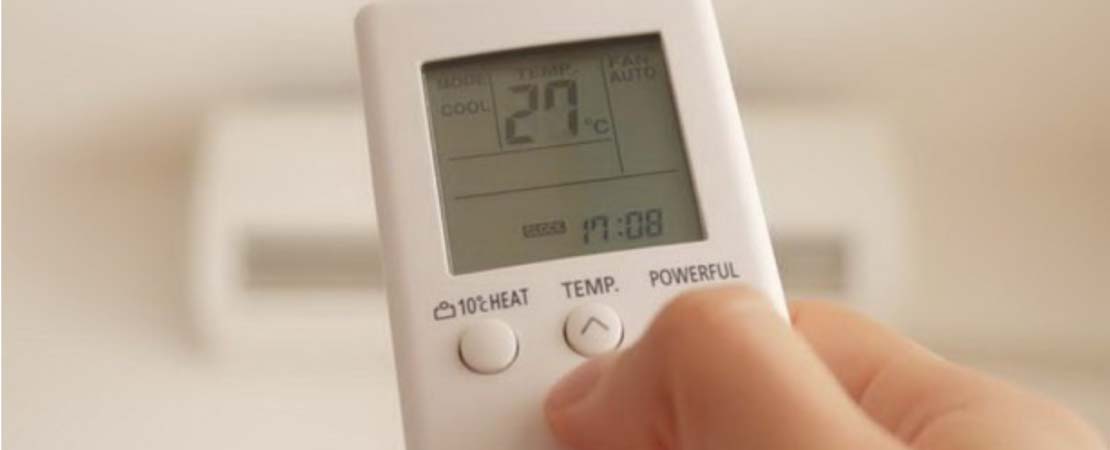
What is the best way to run AC?? It is always better to run AC at 25+ degrees and put the fan on at slow speed.

This will cost less electricity and your body temperature will also be in the range and there will be no ill effect on your health. Another advantage of this is that the AC will consume less electricity, the blood pressure on the brain will also decrease and Saving will ultimately help reduce the effects of global warming. How?? Suppose you save about 5 units per AC per night by running AC on 26 Degree and other 10 lakh houses also do like you then we save 5 million units of electricity per day. At the regional level this savings can be crores of units per day. Please consider the above and do not run your AC at all below 25 degrees. Keep your body and environment healthy.

3. Weatherize your home

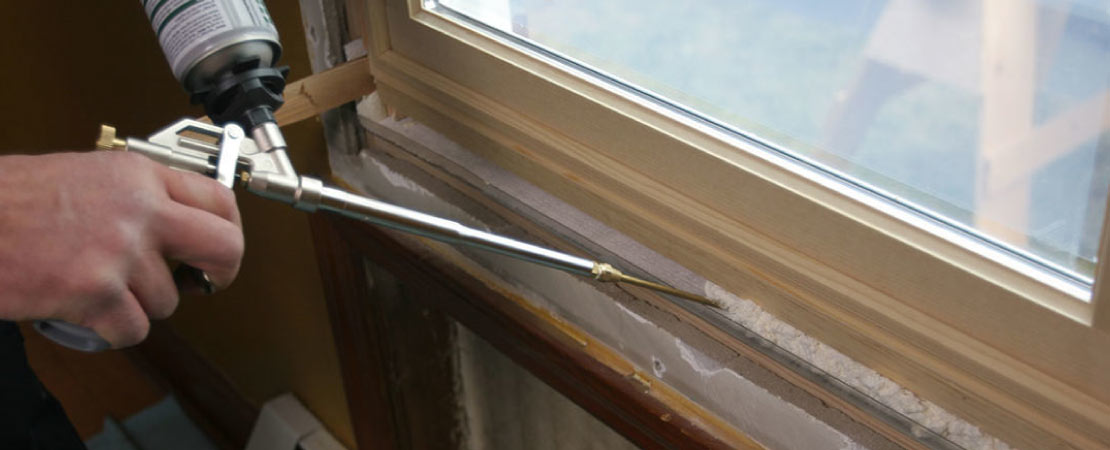
Weatherizing or sealing air leaks around your home, is a great way to reduce your heating and cooling expenses. The most common sources of air leaks into your home are vents, windows, and doors. To prevent these leaks, you should ensure that there are no cracks or openings between the wall and vent, window, or doorframe.

4. Older appliances are often less energy efficient

Electricity rates are increasing every year. The appliances of today are much more efficient than their predecessors as they have made energy-saving leaps over the years. Replace the old ones with energy efficient products.

5. Take shorter showers

Ahem! Please do not get angry on me for saying this but I am just helping you to save energy. I know it really feels relaxing, rejuvenating and soothing taking a long shower. But did you know that a typical shower head spits out an approx average of 2.5 gallons per minute. Reducing your shower time by 4 minutes per day may save 3650 gallons annually if you shower once a day. So just make your shower time shorter.

6. Let your Computer/Laptops hibernate

You knew that frogs and other amphibians are the only ones who can hibernate? Well think again. You can set your Computer/Laptops to Hibernate also. It is a power-saving state designed for Computer/Laptops. Hibernation puts your open documents and programs on your hard disk and then turns off your computer. Of all the power-saving states in Windows, hibernation uses the least amount of power. Put your computer to hibernate mode instead of using a screen saver so it uses less electricity during periods of inactivity. And the best part is Hibernation of your computer can reduce your electric bill too.

7. Unplug battery chargers

Once charging of your device is complete, unplug the charger from the device and electrical outlet when the batteries are fully charged or the chargers are not in use. Many chargers draw power continuously, even when the device is not plugged into the charger. As Cambridge professor David MacKay points out, that half a watt equates to saving one hot bath’s worth of energy every year if you unplug your charger when it’s not in use. You have heard it from the best so you know what to do now.

Since the ‘Sultry Summer’ has already arrived, it’s the best time to use our ‘Secret 7’ ways in to use.